Indonesia's second highest volcano
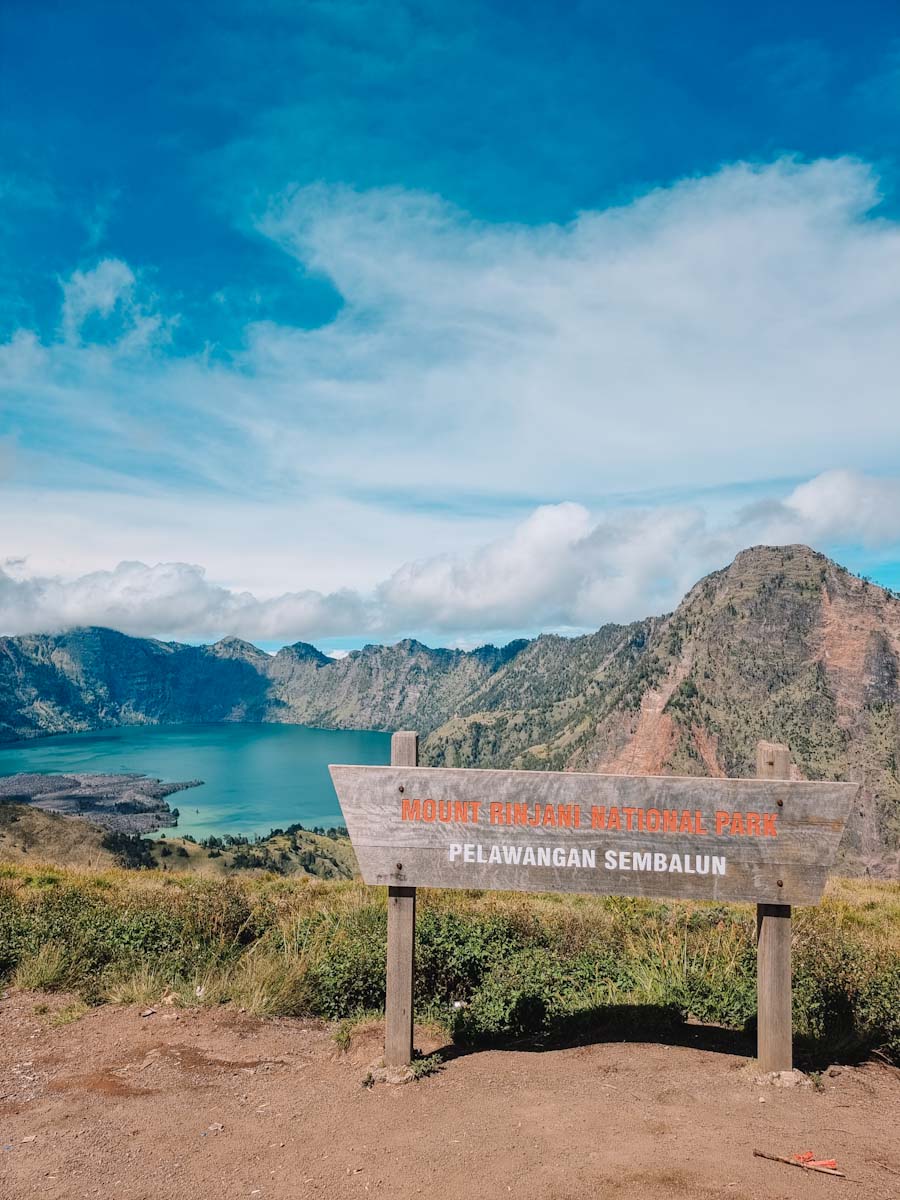
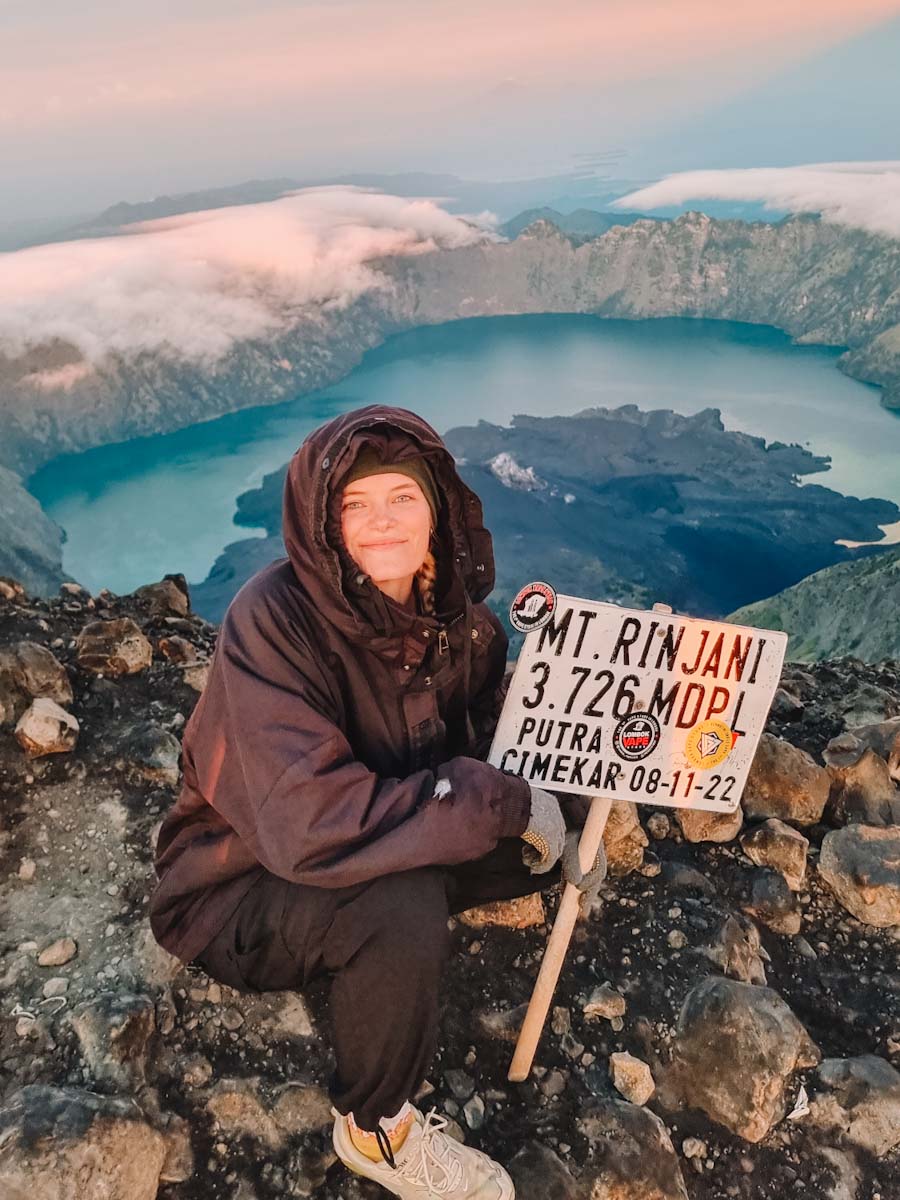
Coming in at second place to Mount Kerinci is Mount Rinjani. Located on Lombok, it stands at 3,726 meters above sea level. It is still classed as active and the most recent eruption was in October of 2015. Since then, the volcano has been quite quiet. But it is constantly monitored and is safe to visit. The Mount Rinjani hike is very popular amongst locals and tourists.
How do you get to Mt Rinjani?
To get to Rinjani, you’ll first need to get to the island Lombok. You can either fly directly to Lombok International Airport (LOP) or take a ferry from Bali. For more information on this, be sure to check out our post on the best things to do in Lombok. But in both cases, you’ll need to drive to the base of the mountain.
Why hike Mt Rinjani?
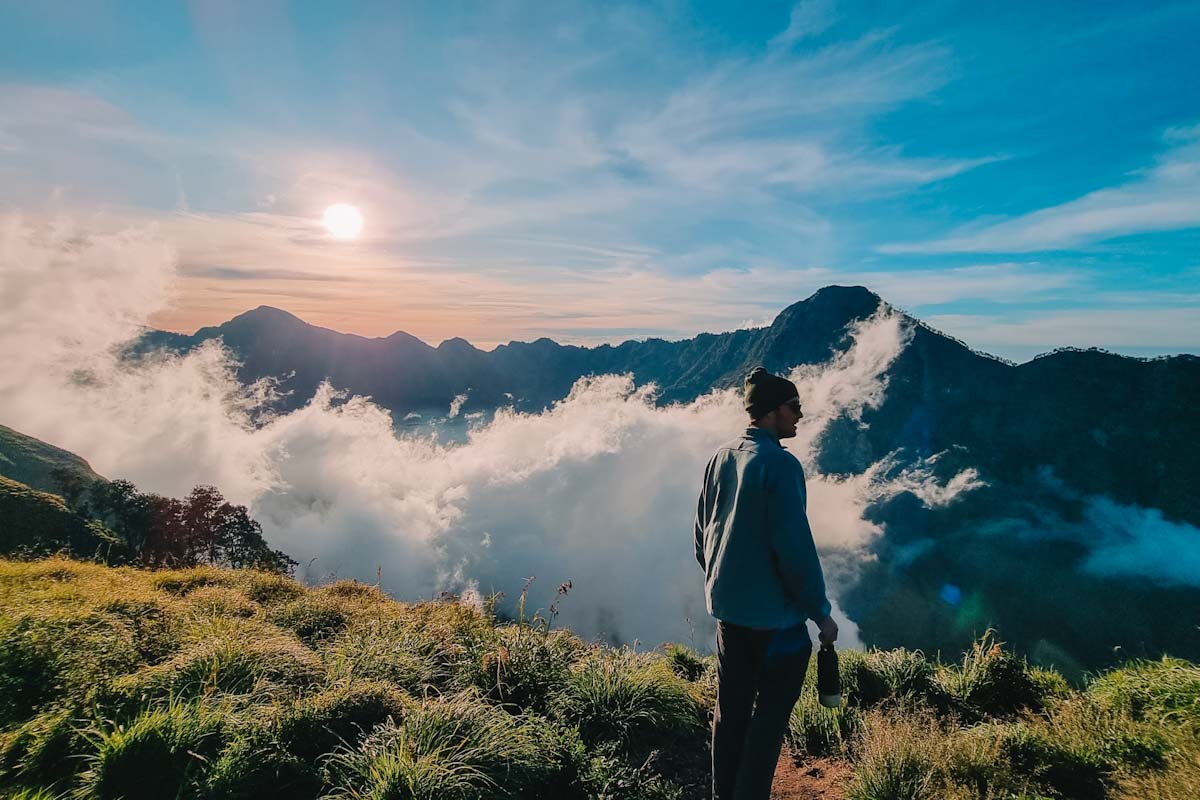
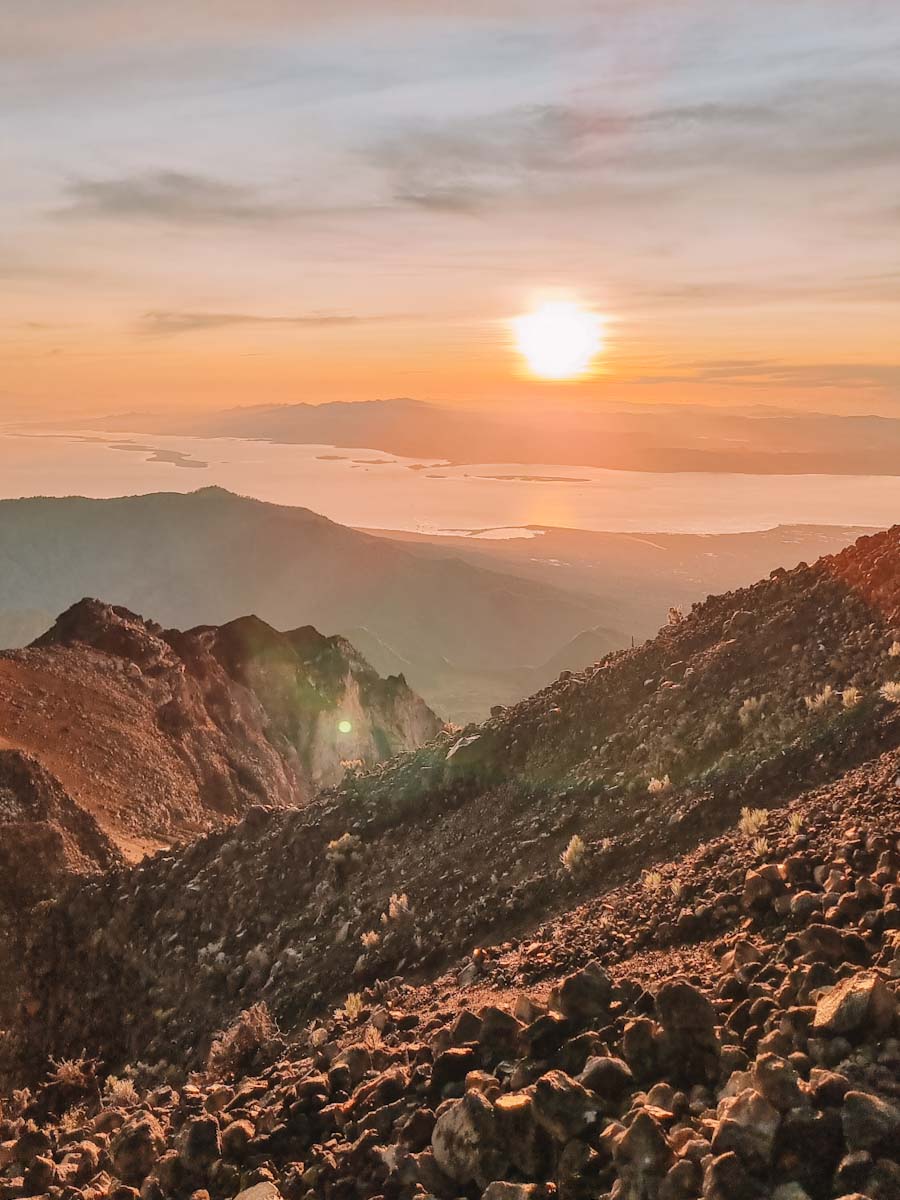
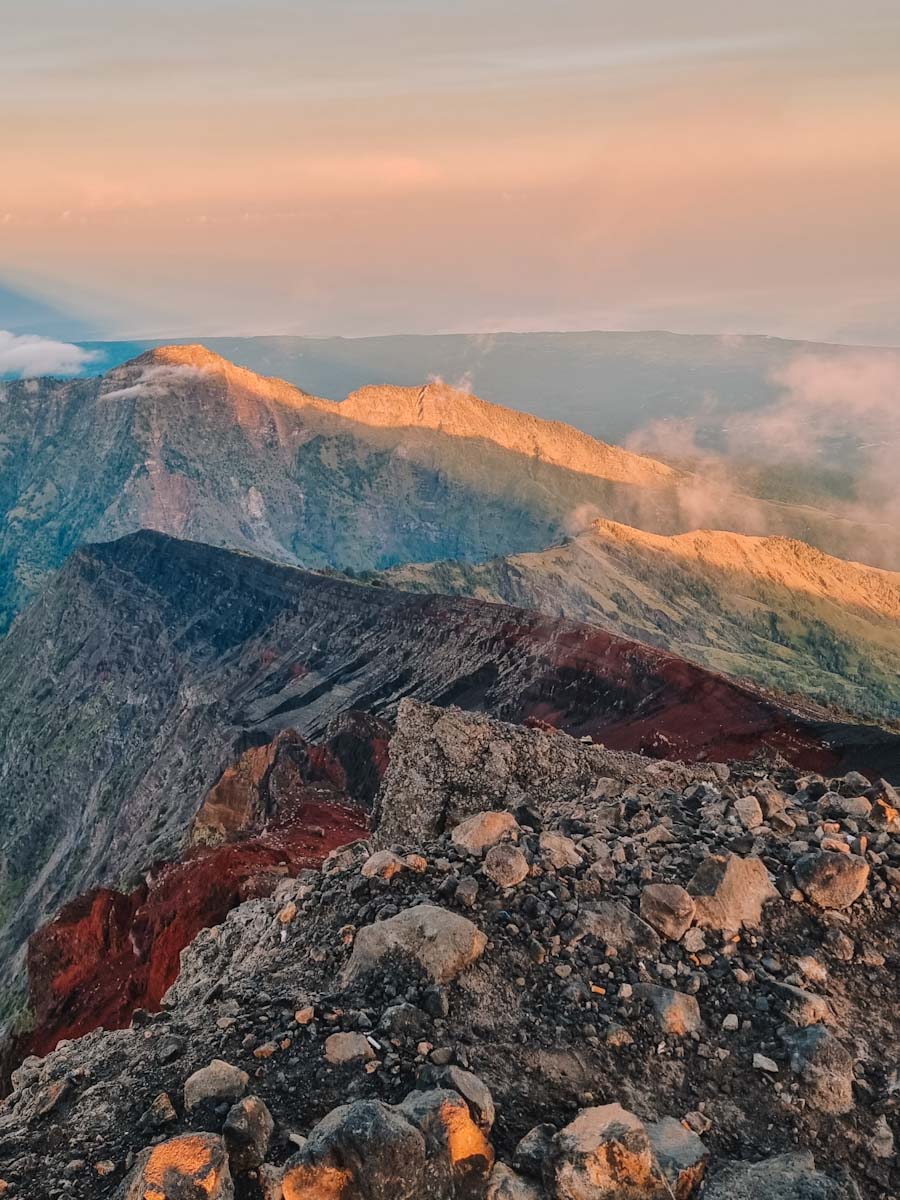
You should hike Mount Rinjani because we guarantee it will be an unforgettable experience. Yes the hike is challenging, but at the same time very rewarding. Sleeping on the crater rim of an active volcano with the sky full of stars is worth doing it by itself. And the feeling of reaching the top and seeing the views from that high up is something words can’t describe.
When to hike
You can only hike Mt Rinjani between April and December. All hikes up the mountain close from January 1 to March 31 because of Lombok’s rainy season.
The best time to go is between April and September as this is Lombok’s dry season. But as always weather is unpredictable. We did it in December and had no rain and no clouds when we arrived at the top. So be sure to check for yourself. Doing the trek in the rain or summiting with heaps of clouds will make it far less enjoyable.
Can I hike without a guide?
Technically yes, you can do the Mount Rinjani hike on your own but it is strongly discouraged, unless you’re very experienced. The route is challenging and can be dangerous without proper guidance. Additionally, you would have to carry all your water, food, and sleeping gear up yourself, which is otherwise taken care of. And if something bad were to happen, you’ll be far beyond your depths. So make sure you get a guide!
How difficult is it?
Honestly, it is very difficult. Even for fit individuals, it is a big challenge. Especially during the last 3 hours before reaching the top, you’re climbing up a very steep incline walking on volcanic ash and loose rock. And at this point it’s 3am and about -2 degrees Celsius.
How to book
You can book your trekking online or at a local tour company. We arrived at the Bangsal harbour in Lombok (coming from Bali) and booked with a local company here. They were called Mount Rinjani Care and also offered ferry tickets and transport within Lombok. They were great to deal with and were able to offer a lot of extras.
You can also do online booking in advance, there are many companies that all offer similar packages. This might be the best to do in peak season. The only main advantage of booking it on the spot is that you can negotiate on the price and what is included.
Besides that, there is also a daily limit of people that can start the hike. This is done so that overcrowding on the top of the mountain and at the campsites is not an issue. Therefore, we do recommend not booking your tour too late. But when is too late? This depends what time of the year you’re looking at. During peak season, which is from May to October, a months notice is likely needed to guarantee a spot. However in December when we booked, a week was enough.
Wanting to book?
Follow the links below for all your accommodation, transport, & activity needs!
What are the hiking options?
There are three options for the mount Rinjani hike; two days one night (2D1N), 3D2N or 4D3N. We did the quickest, 2D1N, but this was a personal preference. We can’t comment on which ones better as it depends on the time you have available and what you are looking for. Below we have quickly summarised the different possibilities to hopefully make it easier for you to choose:
2 days 1 night
This is the quickest but also most challenging option. This one only includes seeing the summit for sunrise, then going all the way back down. On day one you’ll hike up to the crater rim and sleep there the night. On day two you’ll wake up at 2am, hike to the summit for sunrise, then go all the way back down to the bottom.
3 days 2 nights
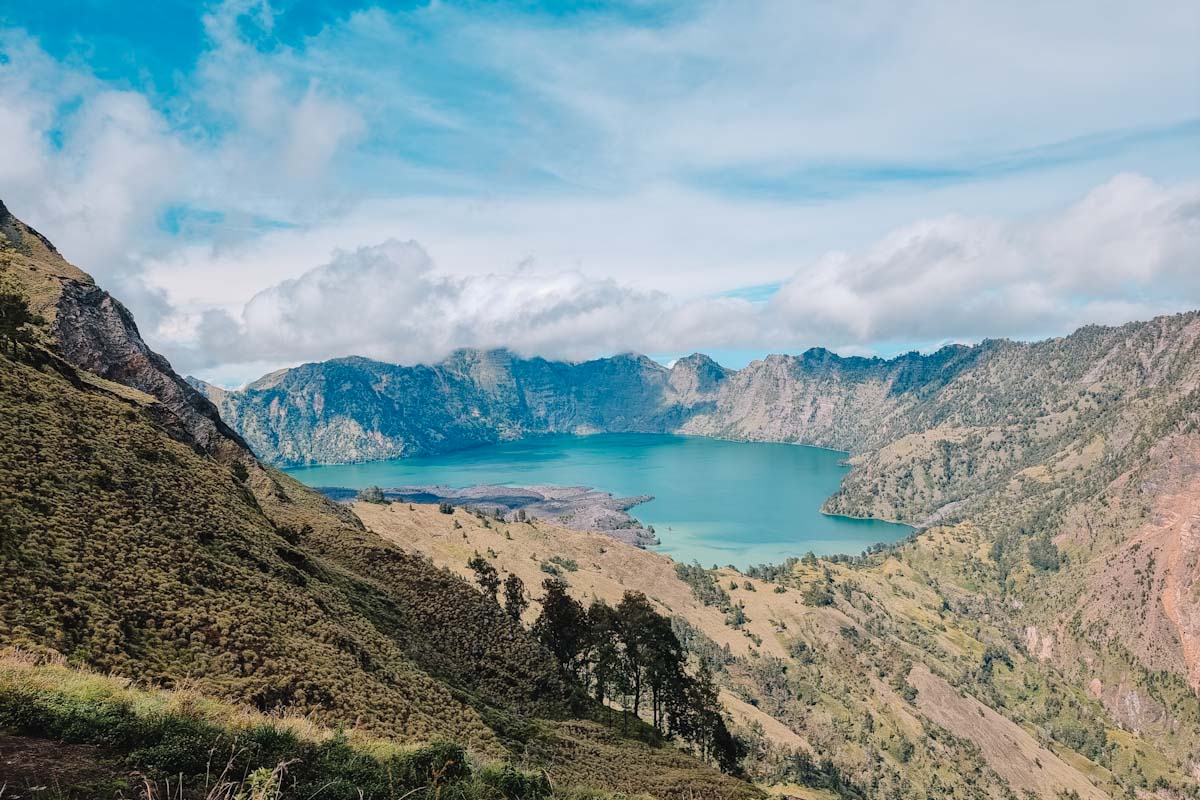
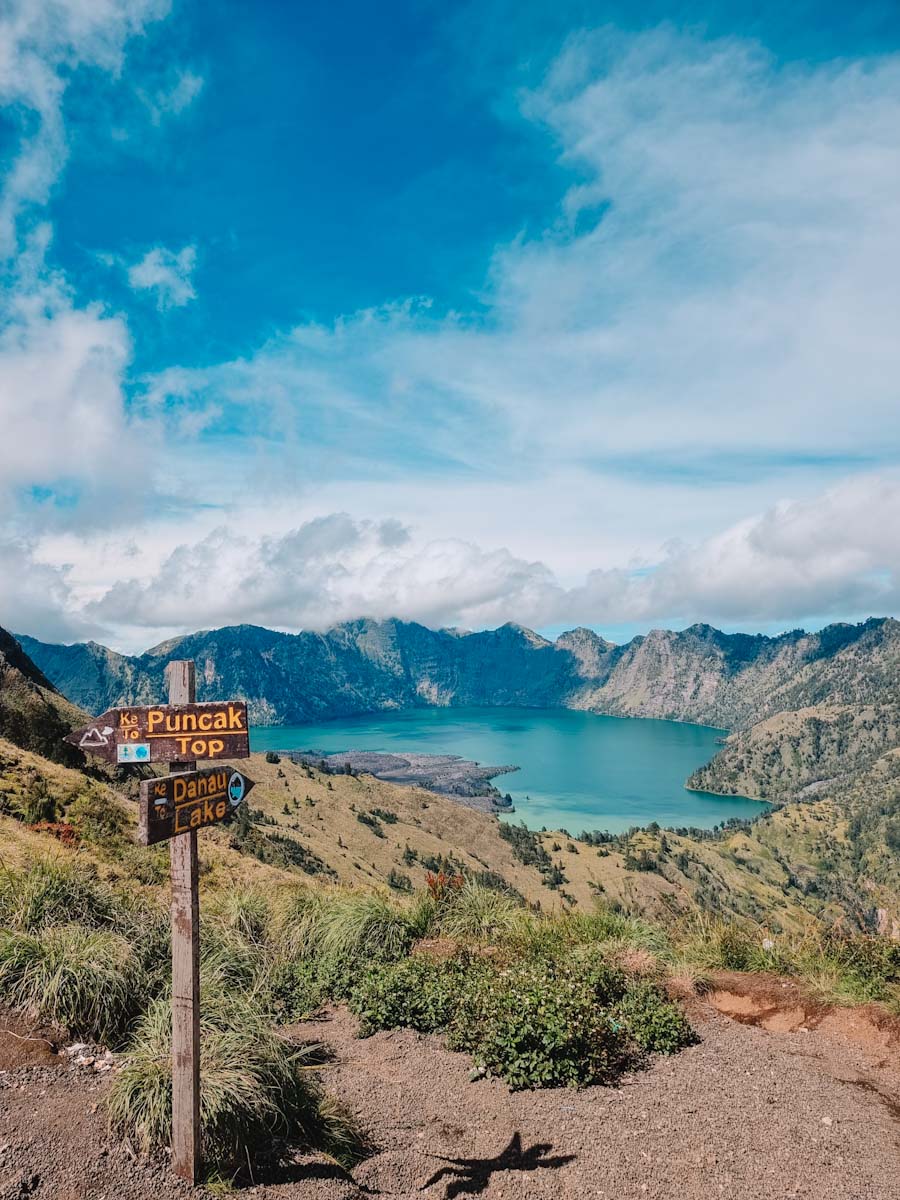
This is the most popular option. It includes the summit at sunrise, a visit to the crater lake and the hot springs. Day one is the same as 2D1N. Day two you’ll wake up at 2am, hike to the summit for sunrise, hike down to the crater lake/hot springs and sleep there the night. Day three you’ll wake up and hike back down to the bottom.
4 days 3 nights
The longest option. This includes the same as the 3D2N tour, but it gives you more time at the different locations to enjoy the mountain and its scenery. Everything will be at a slower pace and you will have more free time.
What is included?
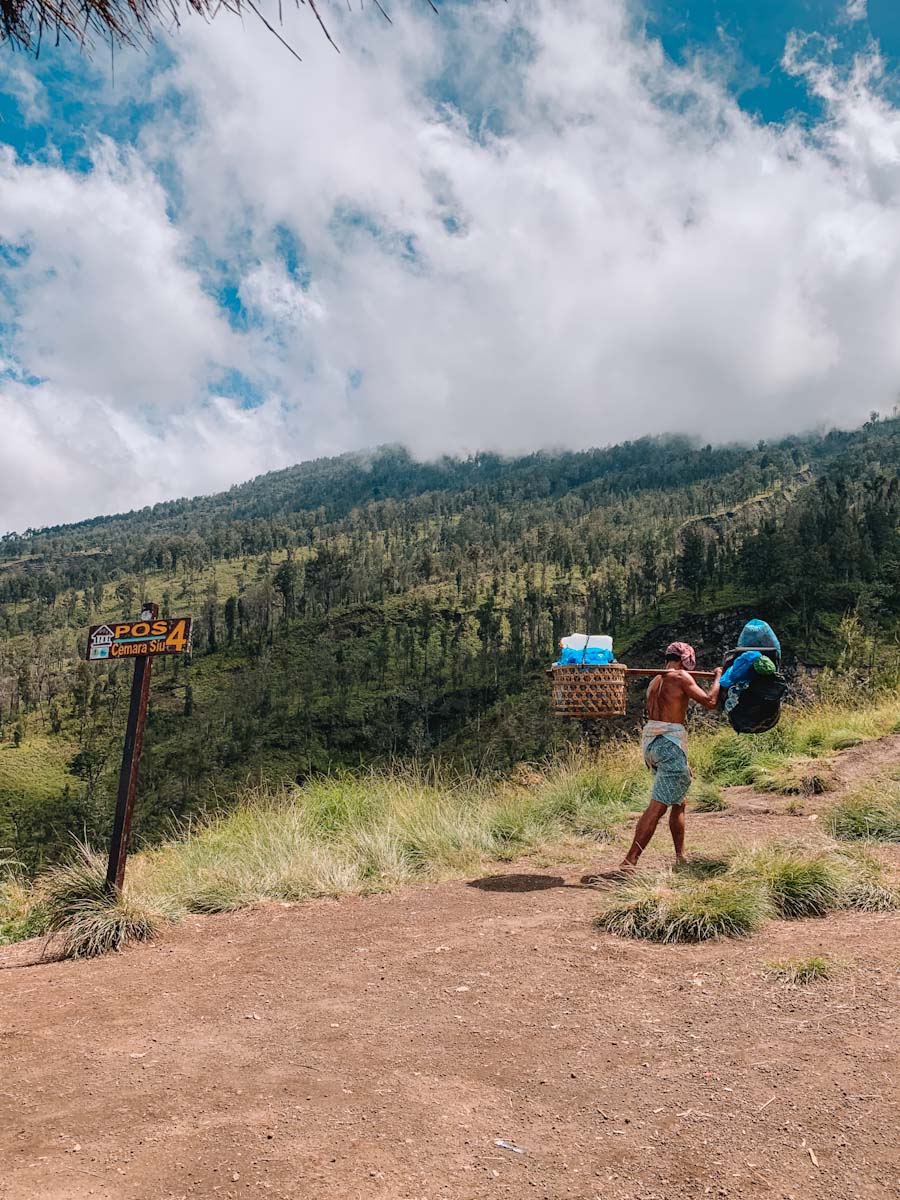
Inclusions depend on your tour company. So pick a good package that includes everything we will outline below (unless you can bring it yourself obviously). Some things are included in almost all tours which are the guide, the national park fee, and the porters. The porters are locals who carry your sleeping gear, food and water. They will also cook all your meals for you.
Some things to check are the following:
- Transport: is transport to the start of the hike included? We recommend booking with a company that arranges this for you as getting to the foot of the mountain by yourself can get quite expensive. But also look at transport after the hike. Will the company bring you back to the city you came from or drop you off at the harbour?
- Accommodation you’ll need to stay close to the entrance of the national park the night before you start. Usually the tour companies will set this up for you, but it is a crucial thing to double check. The hike starts early, so sleeping in one of the two mountain villages (Senaru or Sebalun) is a must.
- Hiking gear: does your tour include clothes and gear or do you have to take care of this yourself? As we said, Rinjani is a challenging hike. Equipment like walking sticks will really help, some companies can provide this for you. Check out our list of things to pack below to see what can be provided for you.
How much does it cost?
The price of your Mount Rinjani hike logically depends on the tour you booked and what it includes. After some negotiation, we paid 2,200,000 IDR (135 euro) each. This included transport from Kuta (city in south Lombok), accommodation before the hike in Senaru, transport to Bangsal harbour and the boat ticket to Gili A (our destination afterwards). Moreover, we got winter jackets, gloves, beanies, walking sticks, and a headlamp for during the hike.
What should you bring?
Before starting the hike we found it difficult to decide what things to take. We have created a list that might help you pack. But keep in mind that the less you bring the lighter your bag will be, this is ideal!
The Mount Rinjani hike packing list
- Good walking/hiking shoes
- 1x Hiking/sport shorts
- 2x Light/sweat free shirt
- 1x Warm jacket
- 1x Jumper
- 2x Thick socks
- 1x Long pants
- Gloves
- Beanie
- Hat & sun glasses
- Sunscreen
- Headlight
- Flip flops: to let your feet air out during breaks
- Phone/camera: did you even do the hike if you didn’t take a photo at the top?
- Powerbank: there will be no charger on top of the mountain, so I make sure your phone has enough battery by bringing a portable charger!
- Snacks: even though you’ll be provided with 3 meals a day, you might want to bring some snacks for extra energy
- Enough water: you will get water, but bring some extra as you’ll sweat a lot and need to stay hydrated
- Rain poncho: just in case, would be miserable if all your warm clothes got wet
- Little towel: you’ll be sweating a lot so a little towel to dry this off is nice
- Wet wipes: for if you want to quickly clean yourself before sleeping, as there’s no showers or running water
Our experience
Below we have summarized our hiking experience on Mt Rinjani. If you’re interested have a read through and pick up some handy tips for the different parts of the day.
Day 0
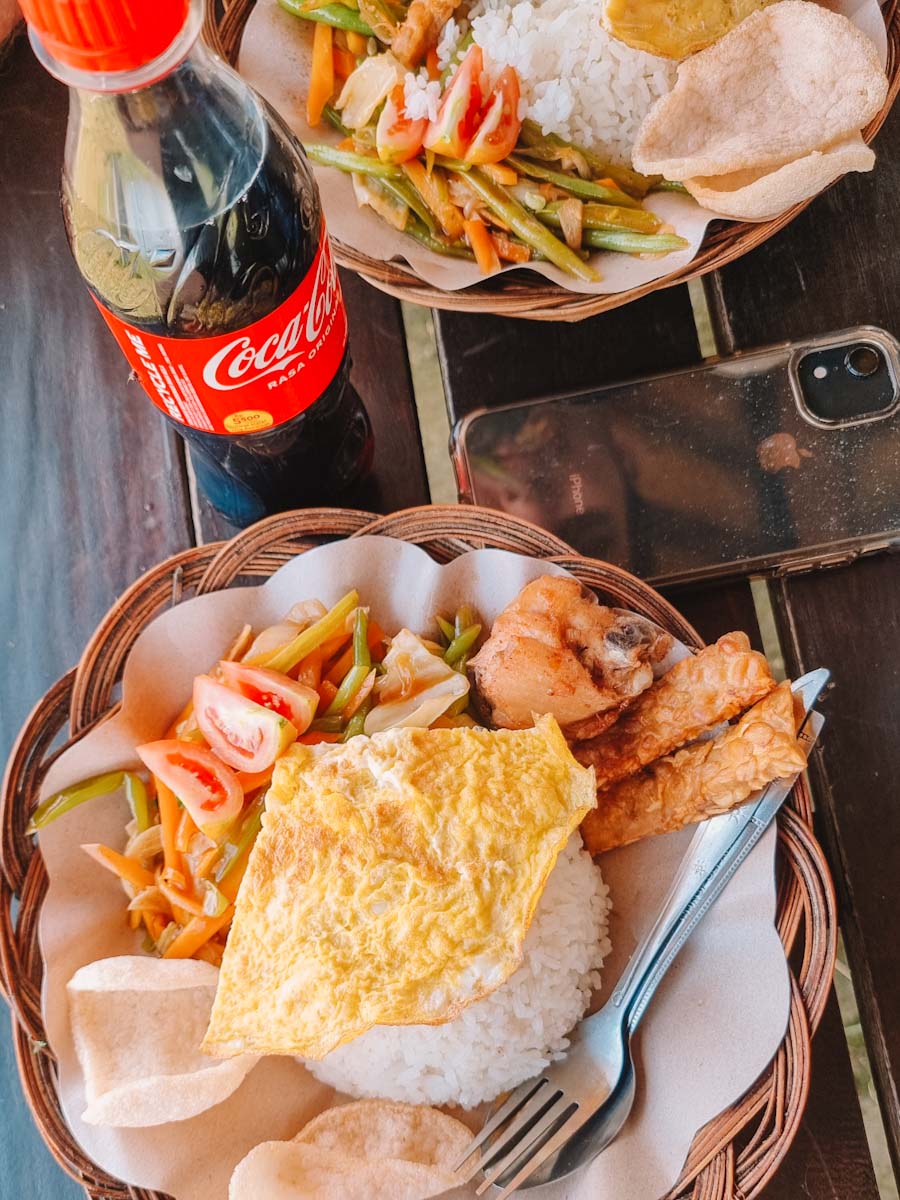
Morning – Our Mount Rinjani hike included transportation. We were picked up from Kuta around 9 am. From there it was a 3.5 hour drive up north to the base of the mountain. We stayed here the night before the hike, in the village of Senaru. We arrived here around 1 pm and had some local lunch.
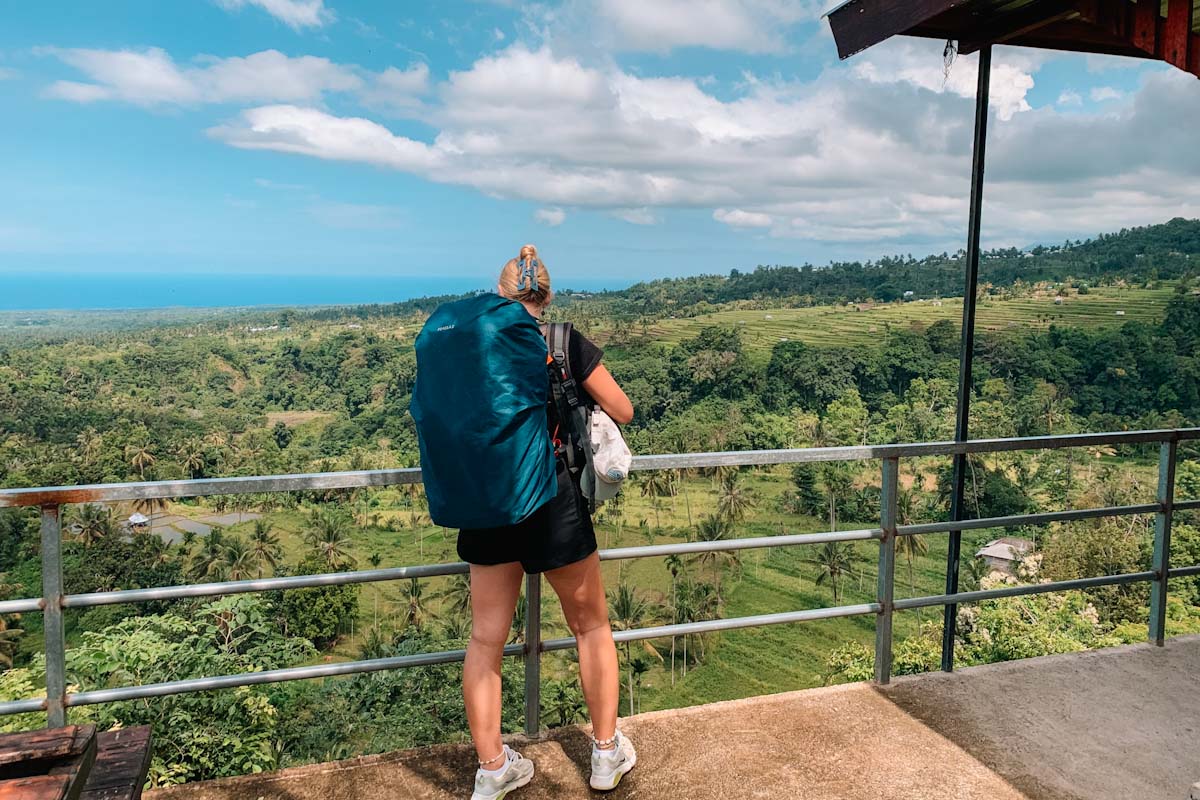
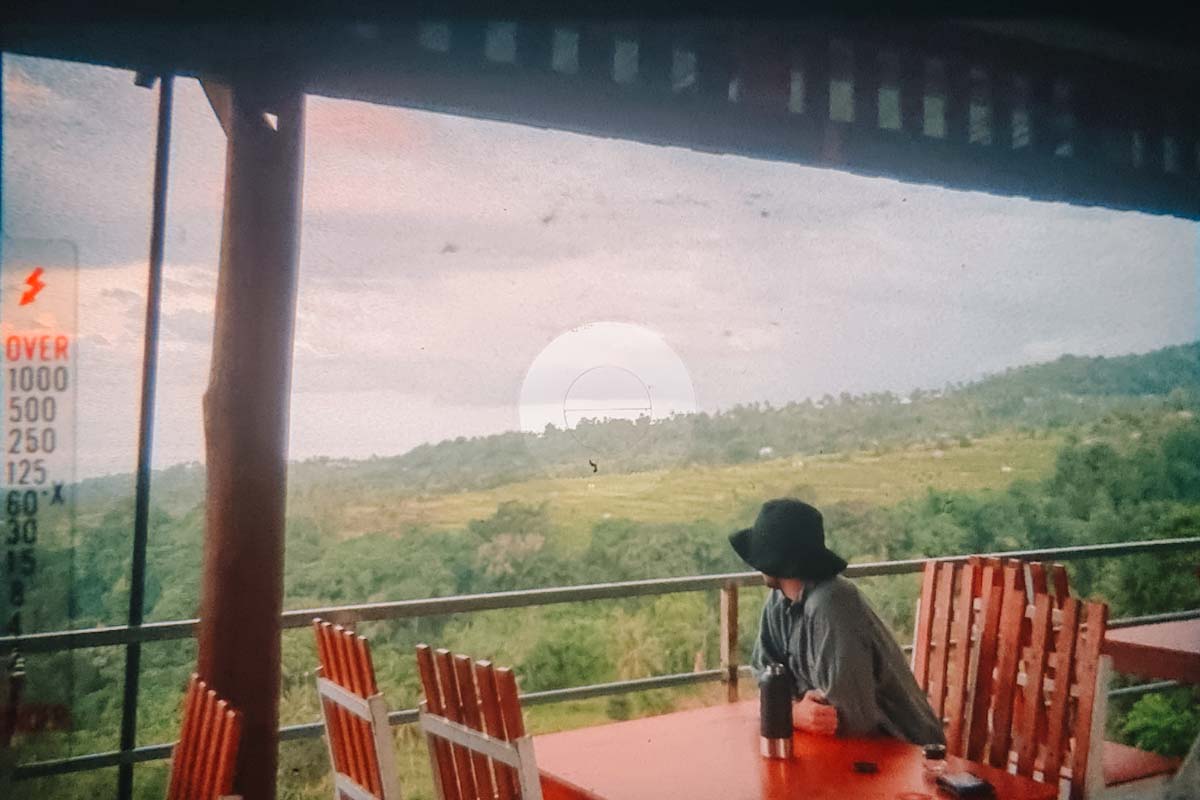
Our tour company had arranged accommodation for us here, which was included in the price. We expected this to be an extremely basic homestay, but we’re pleasantly surprised when we were dropped off. The room was small and cute, with private bathroom but the balcony view over rice fields and distant coast line was unreal.
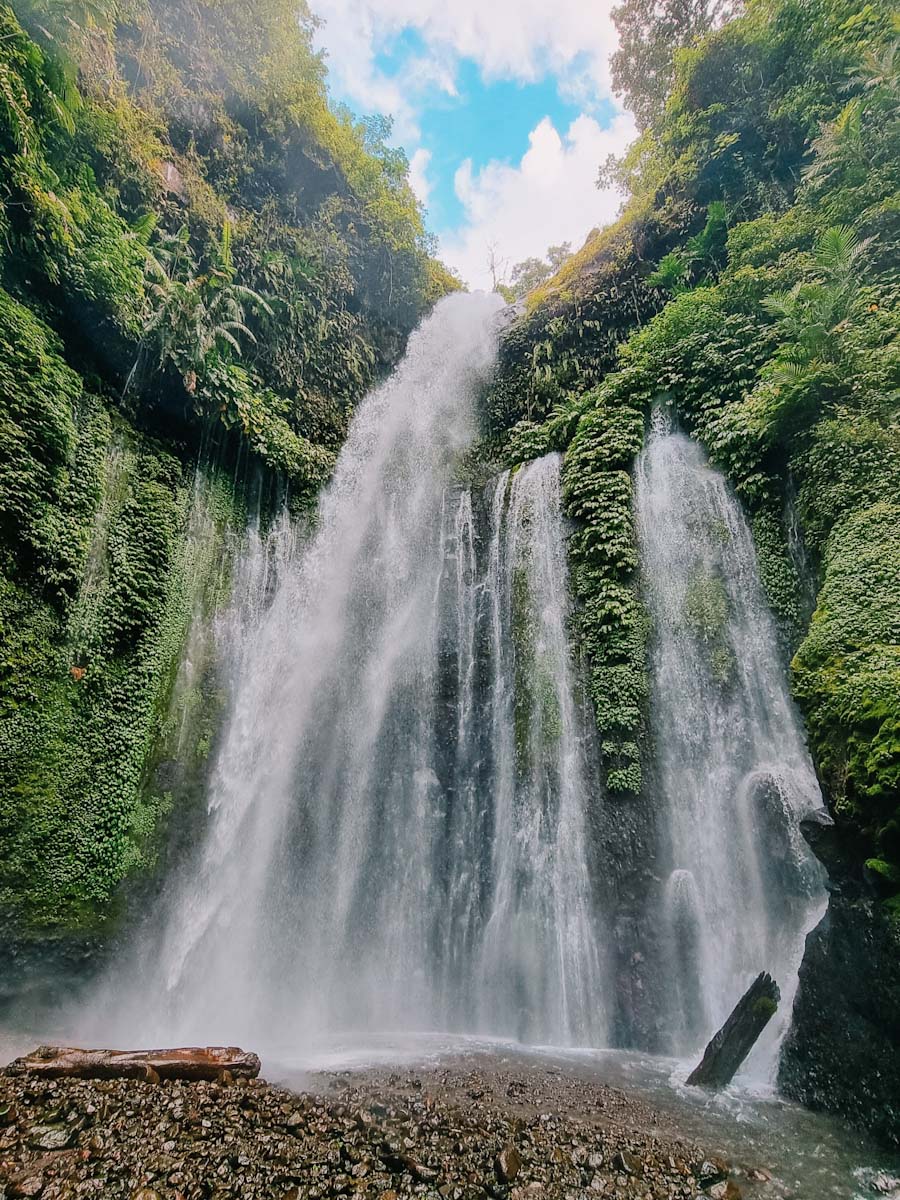
Afternoon – Since we arrived early we decided to explore Senaru and visit its famous waterfalls, namely Sendang Gile & Tiu Kelep. Read more on this in our Lombok post.
Day 1
Morning – We woke up early and ate breakfast at the accommodation (which was also included). We made sure we had everything we needed and left the rest of our luggage at the accommodation. We brought one bigger backpack that we would share during the hike.
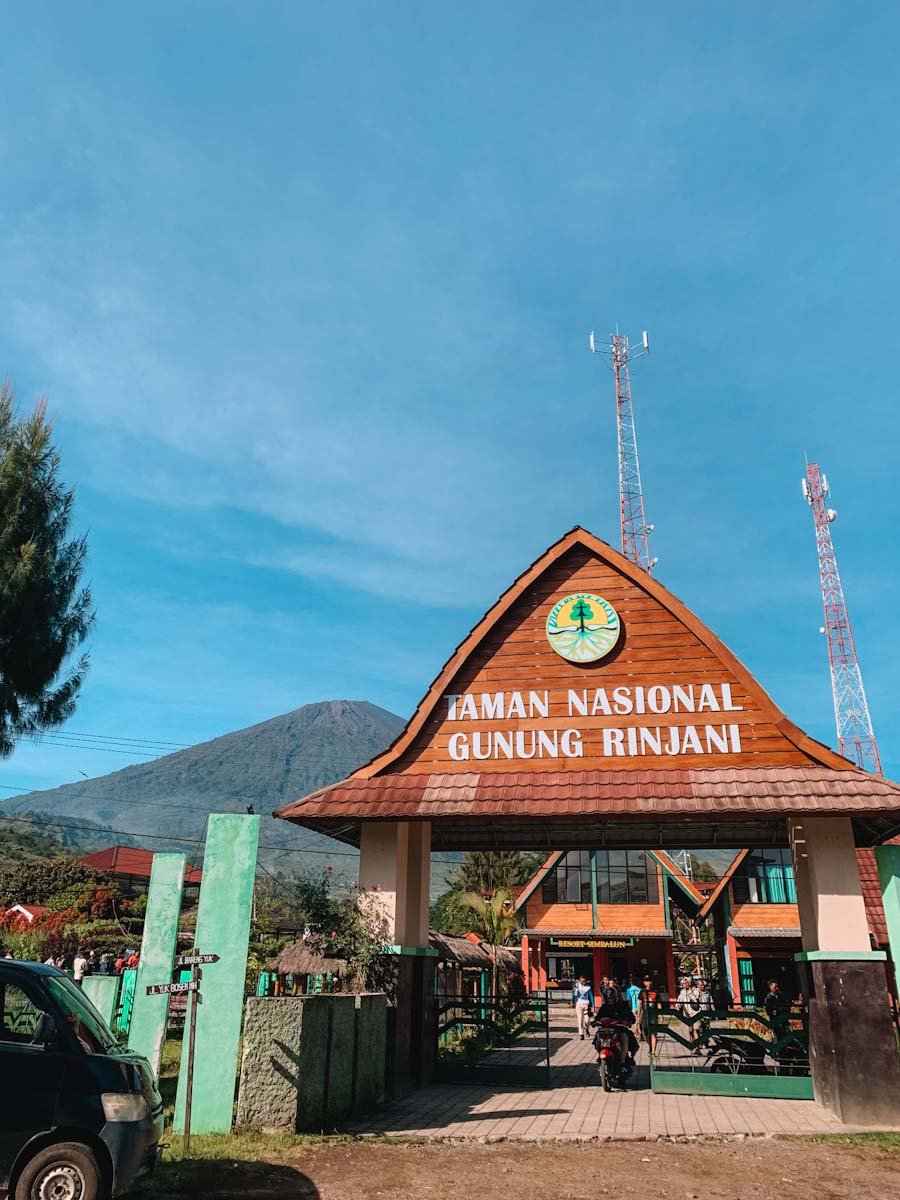
Around 7am we were picked up by a truck. We were the last ones to join the group we were in. We then drove to the entrance of the national park where we had to do a basic health screening. Our height, weight, and blood pressure was measured. This is to make sure everyone doing the hike is fit enough and not putting themselves at risk.
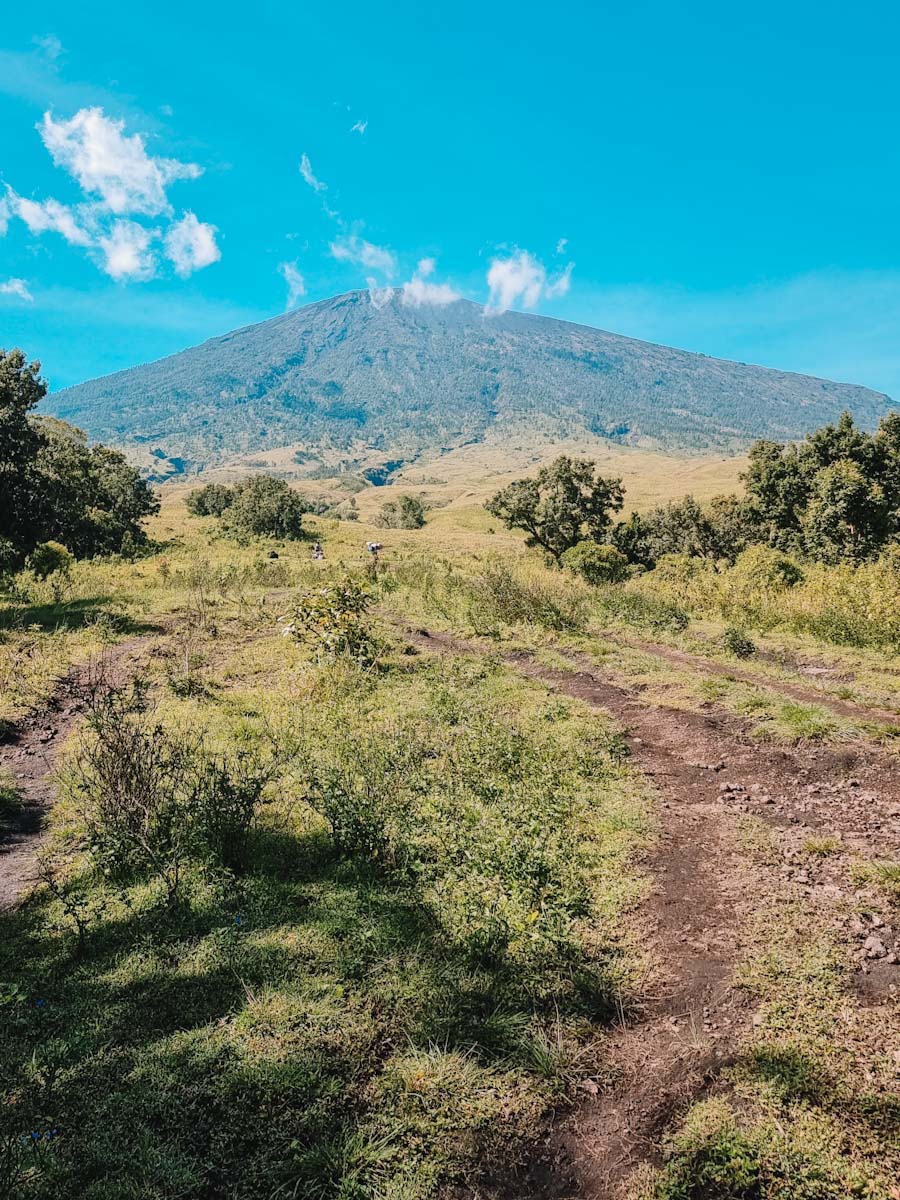
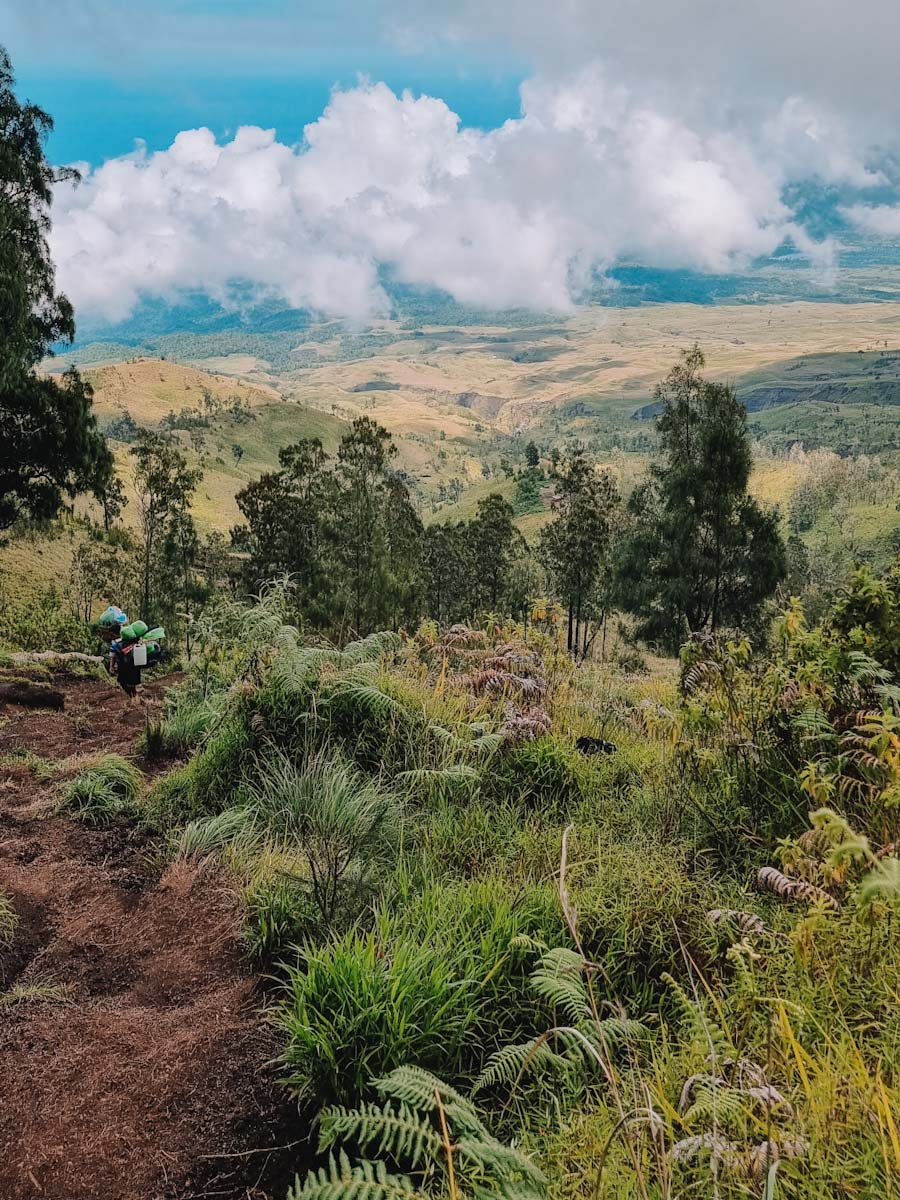
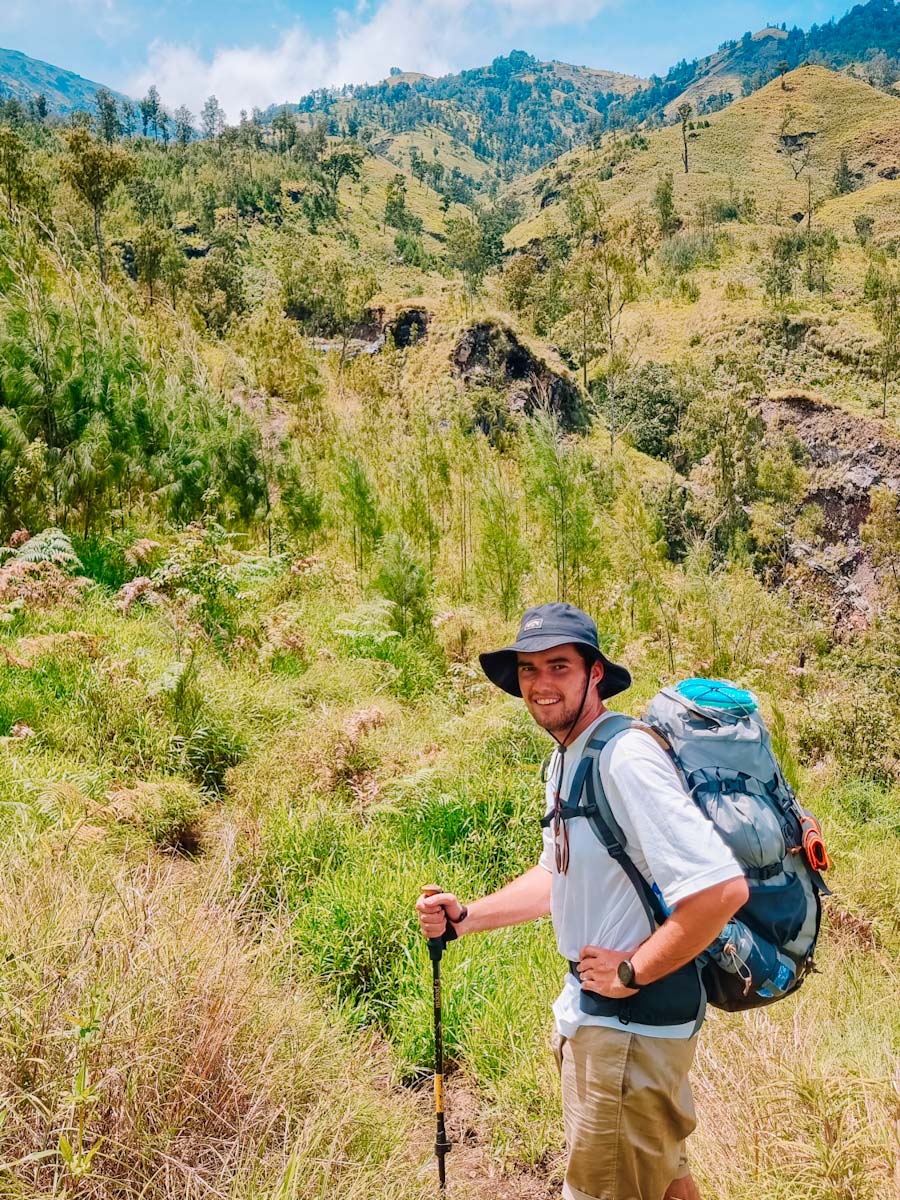
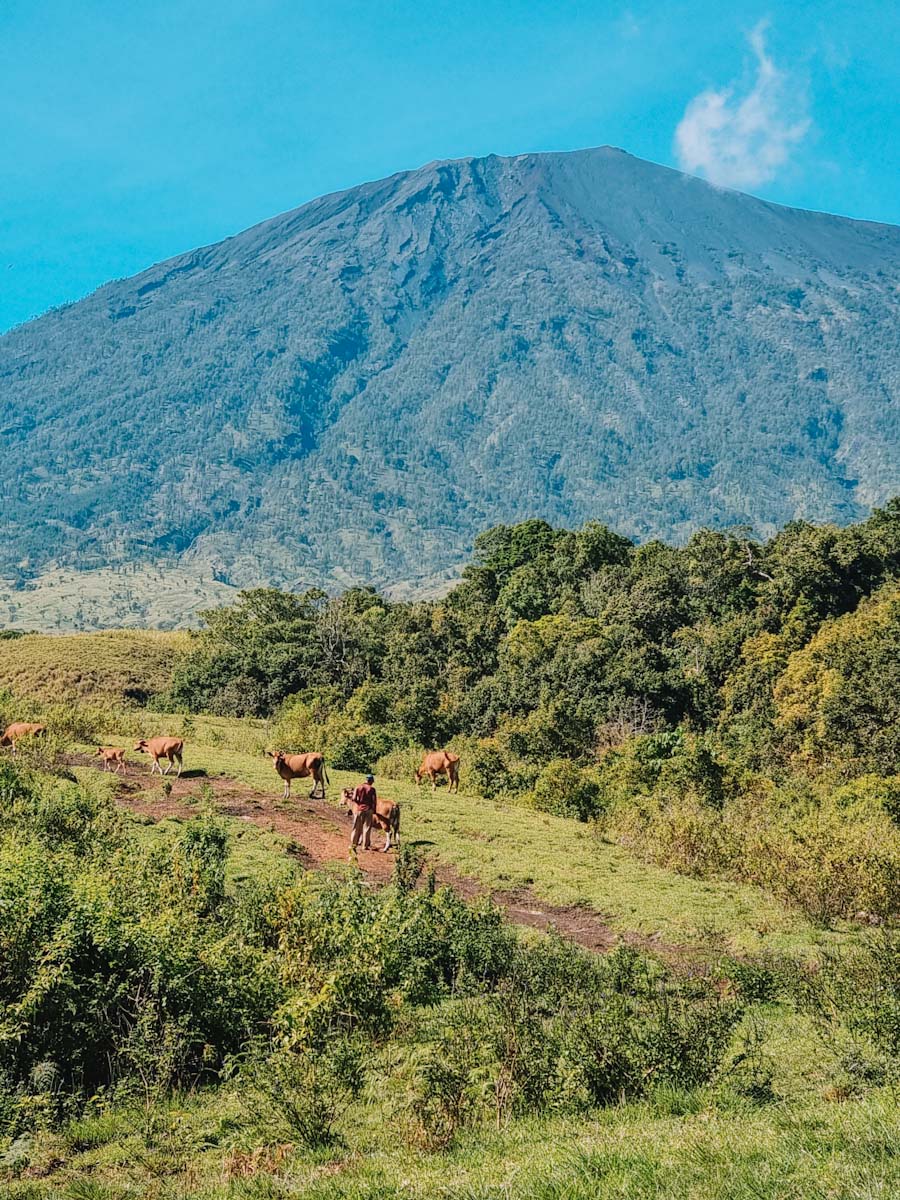
Afterwards we got back in the truck and were dropped off, after quite a rough road, at the start of the hike. And off we went. The hike started off quite flat. We walked in the shade of a forest which was nice as it was a very hot and sunny day. There were a lot of cows so watch out for the land mines (cow shit) for the first bit. After an hour and a half the path started becoming steeper.
Lunch – Around noon we arrived at the lunch spot. Many different hiking groups came together here. There are a few different huts where each group sits while the porters cook lunch. We received a tasty local dish of rice, veggies and chicken as well as some drinks and fruit. After a 45 minute break or so we continued.
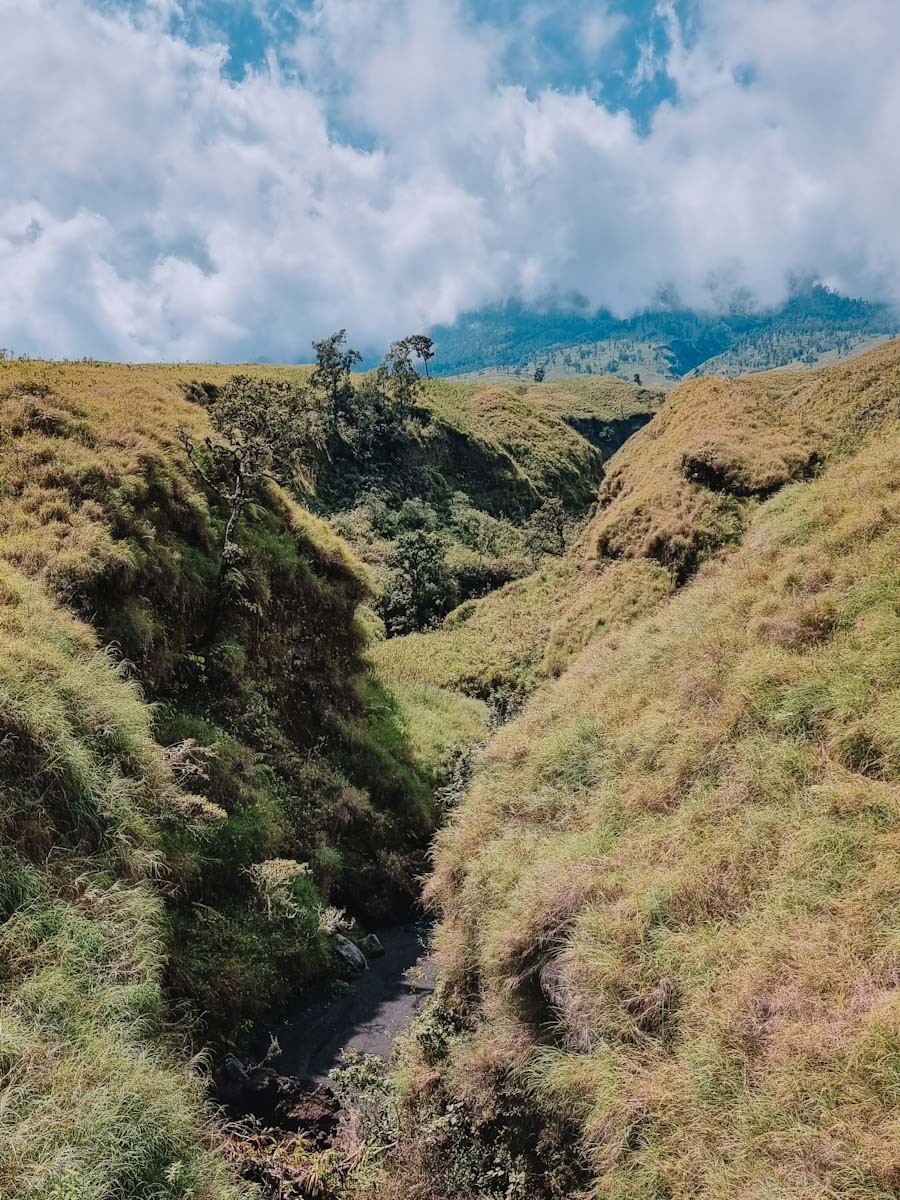
The walk started to become more difficult. The path was steeper, required more climbing and you could feel the height difference. The scenery became more rocky.
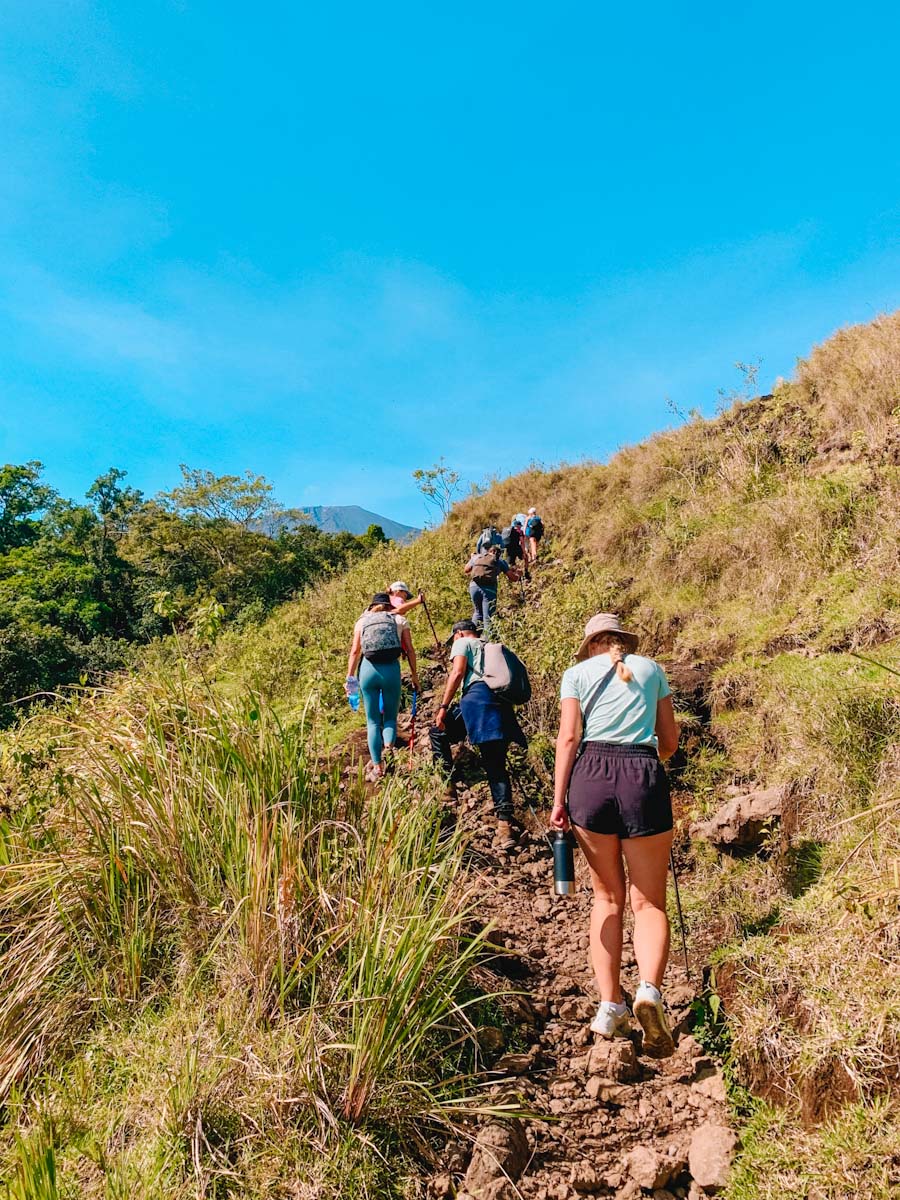
Afternoon – The last part just before reaching the crater rim was difficult. It was very steep and had loose small rocks on hard clay, causing your feet to slip away easily. It started getting colder at this point as we were walking in the clouds.
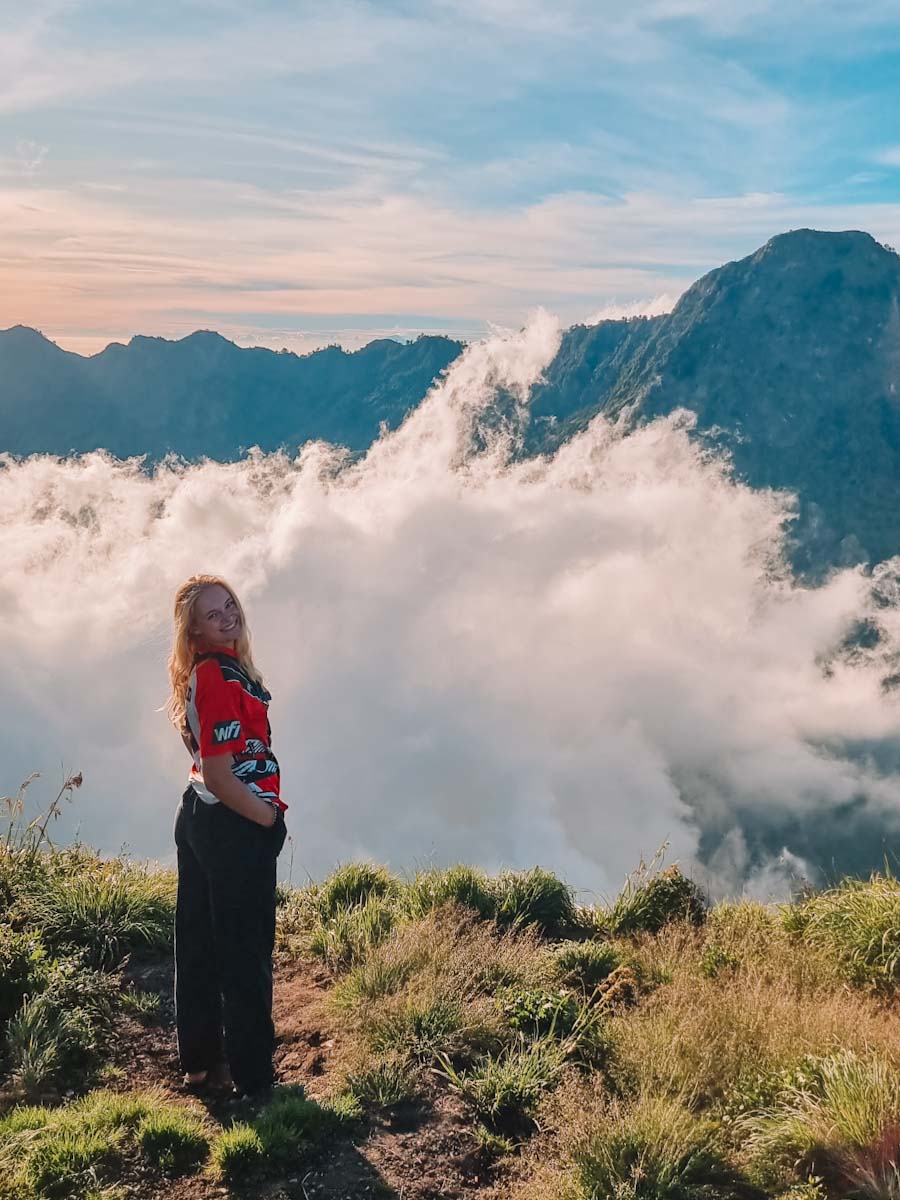
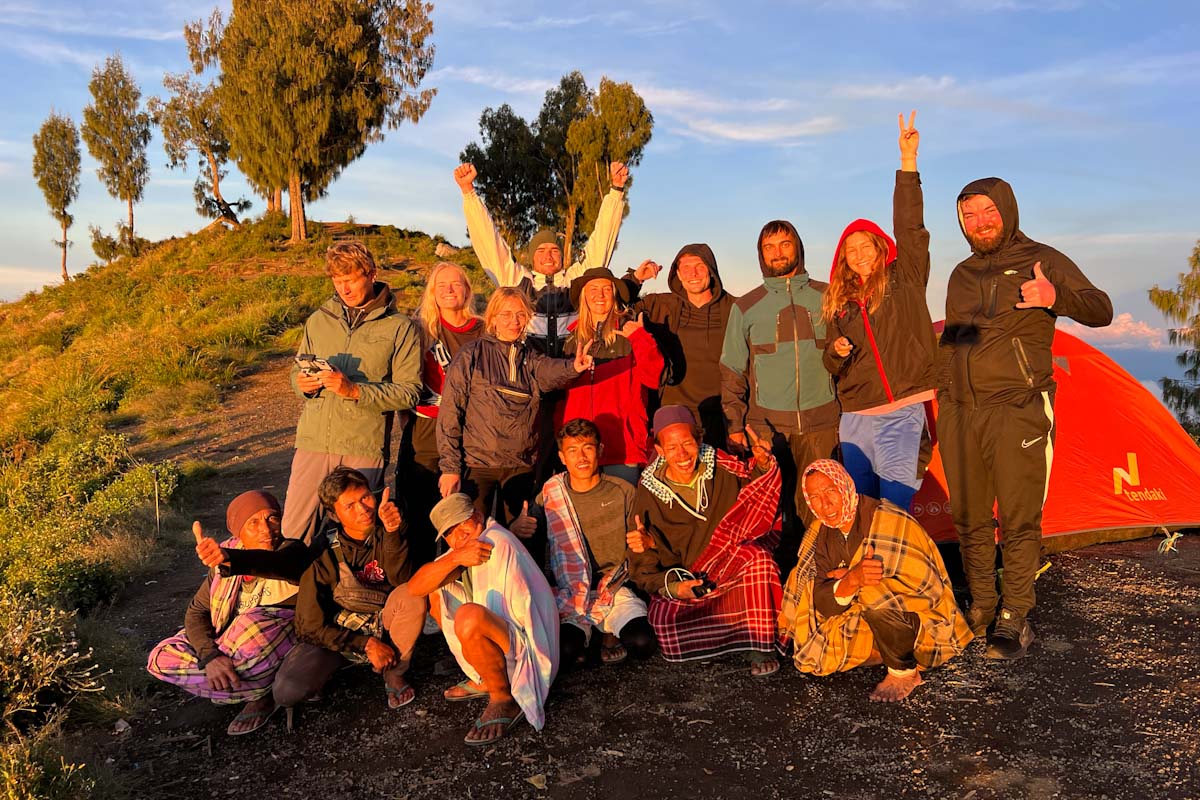
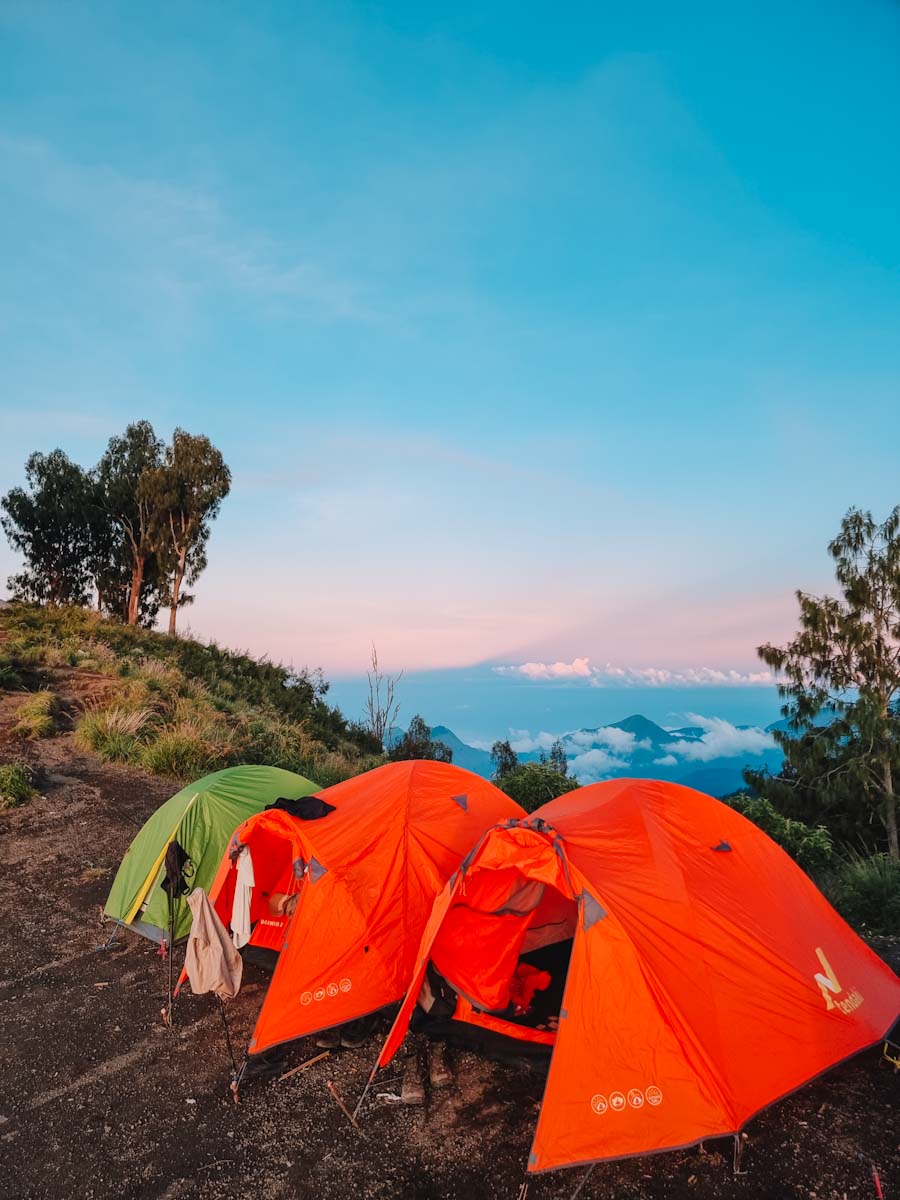
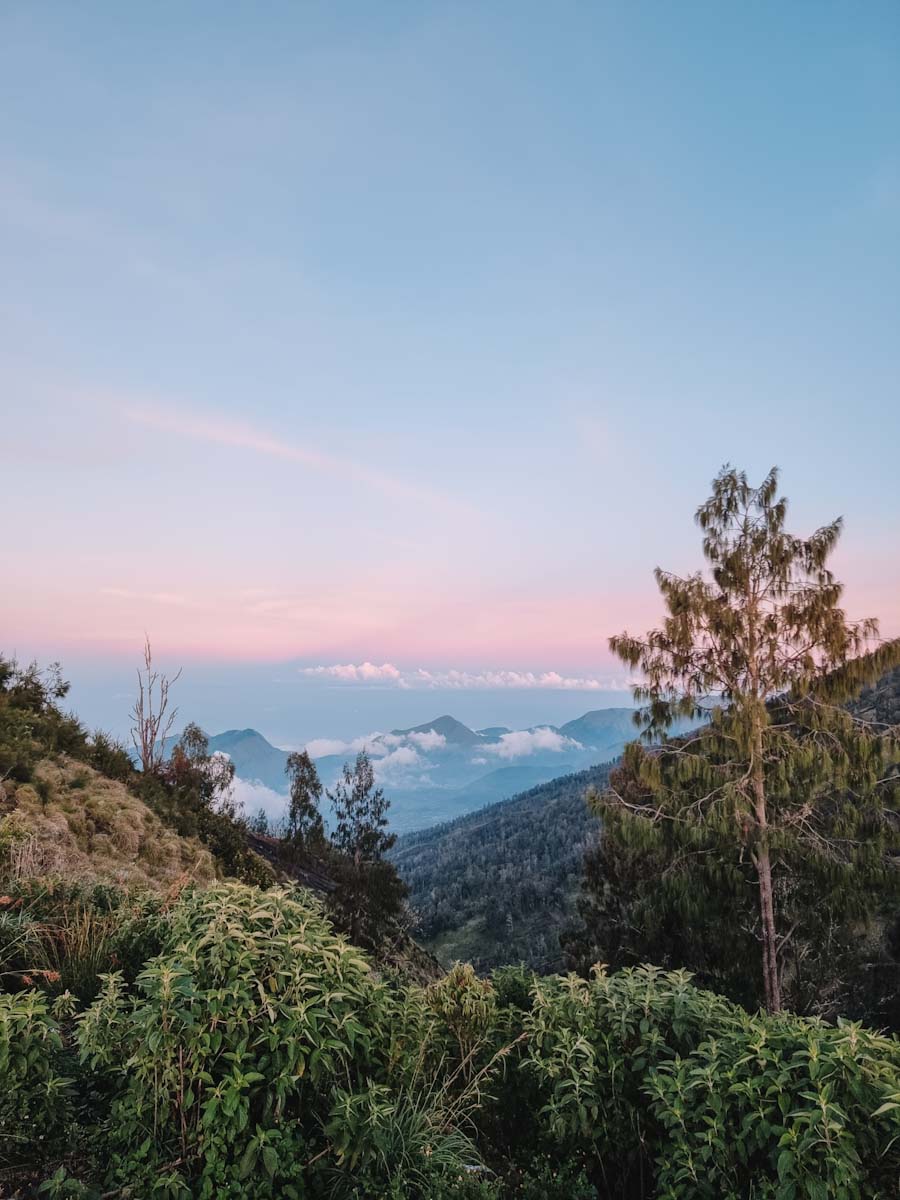
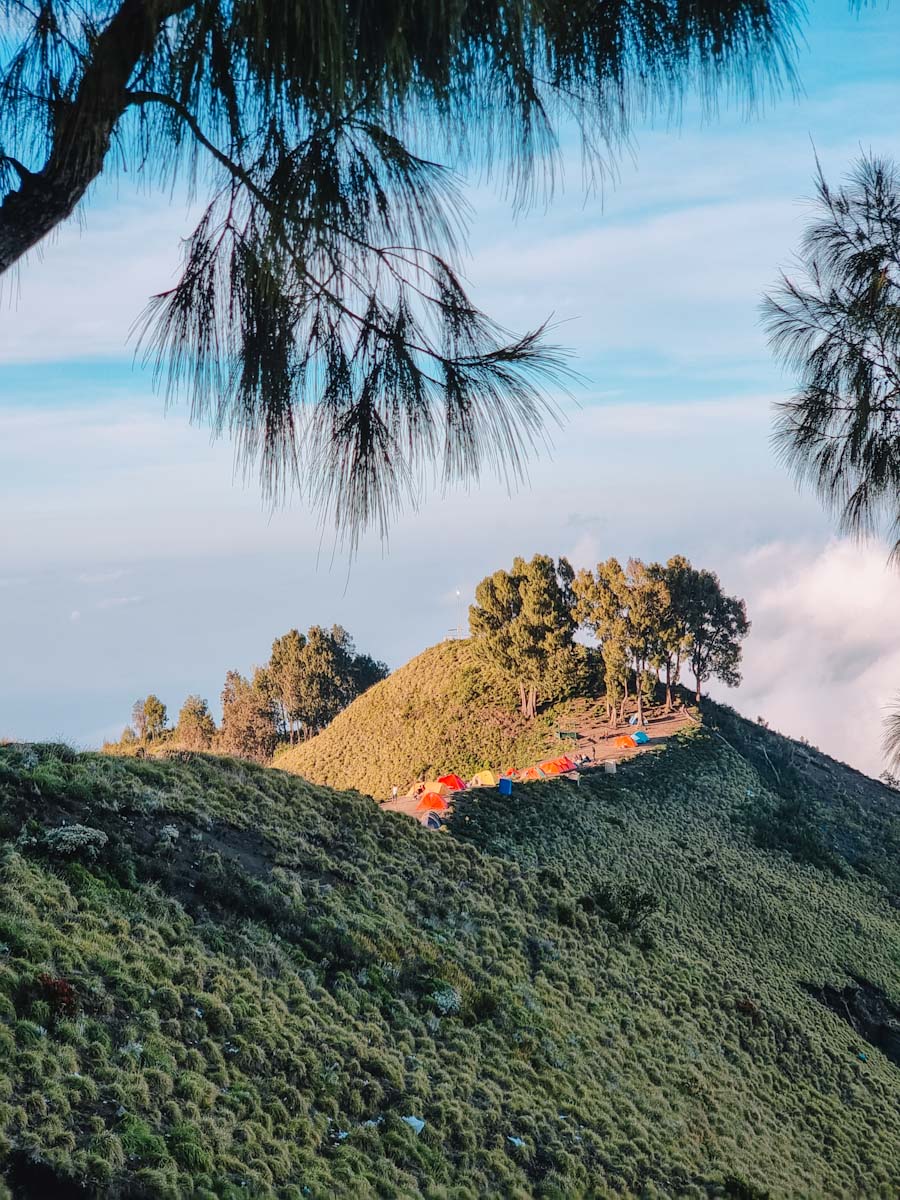
We arrived at the crater rim (our camp for the night) around 4pm. The porters had arrived before us and the tents were already set up. We loved this as the view of the tents along the crater rim looked really cool. We rested for a while and enjoyed the amazing scenery.
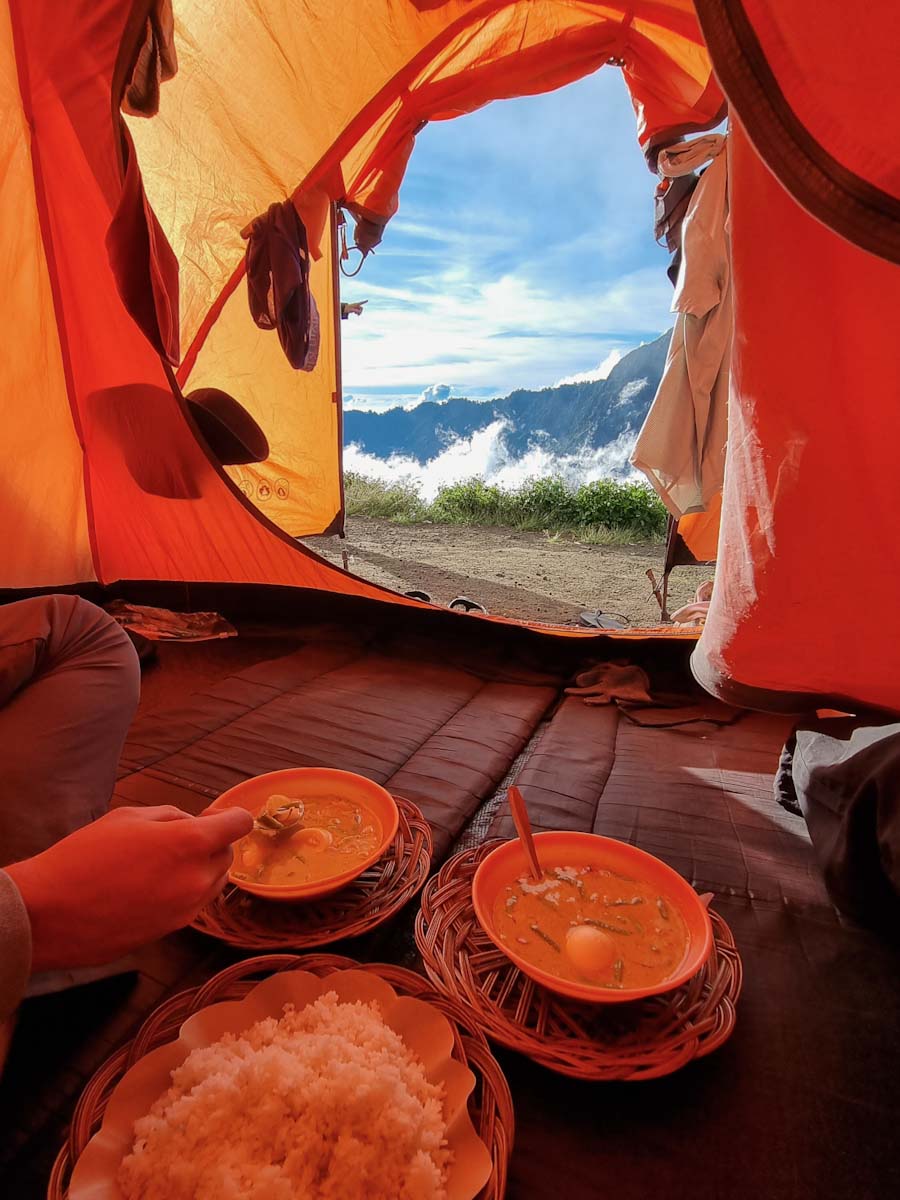
Evening – Around 6pm we received our dinner, a delicious curry and rice. After watching the sunset we went to bed, as we would start again at 2am!!
Day 2
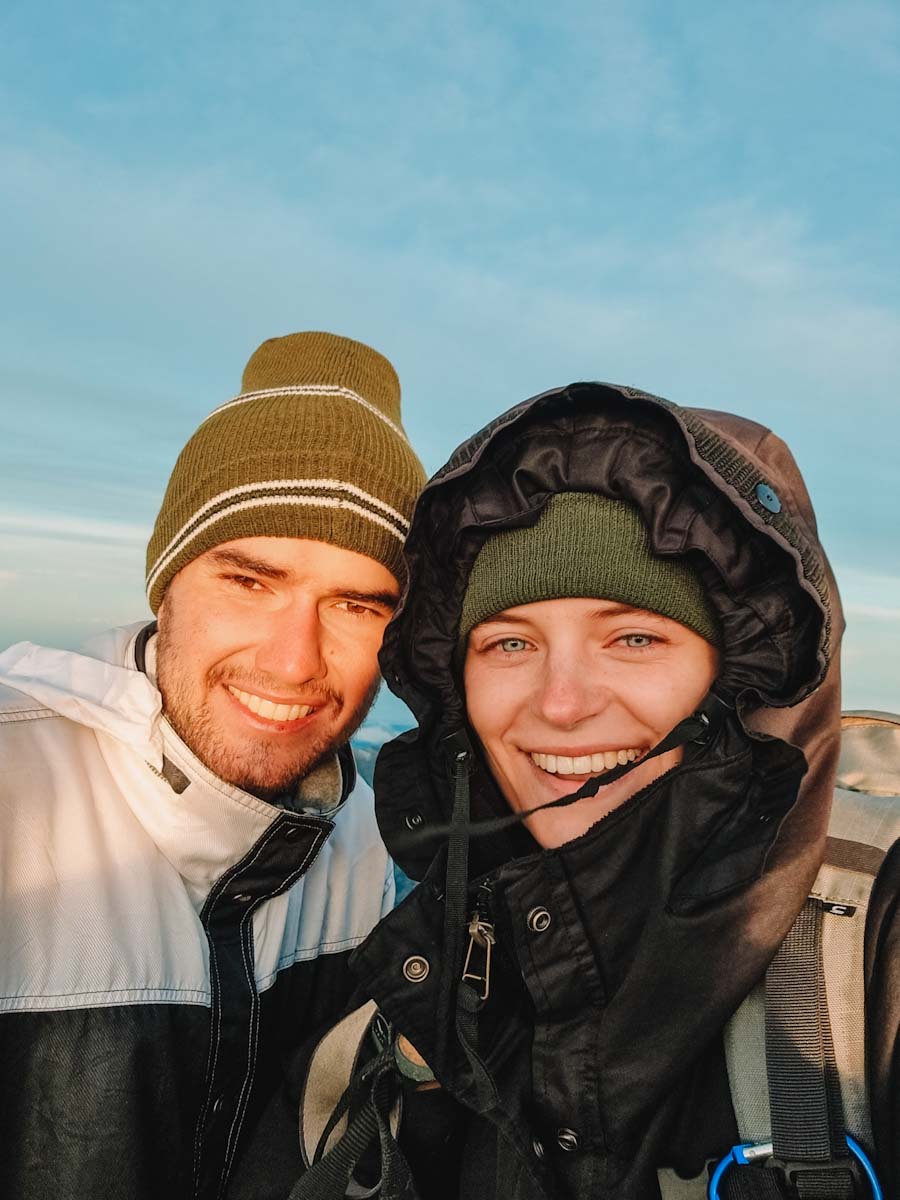
Early morning – We woke up at 1:30am. The night was really cold, we slept with our gloves, jacket and beanie on. We got some tea and toasted bread before starting the next part of the hike when it was pitch black. We received a headlight (which was absolutely crucial).
Now this is where the fun begins. From here the hike becomes extremely challenging. The path was way steeper than the day before. Especially the last 2 hours which were very intense.
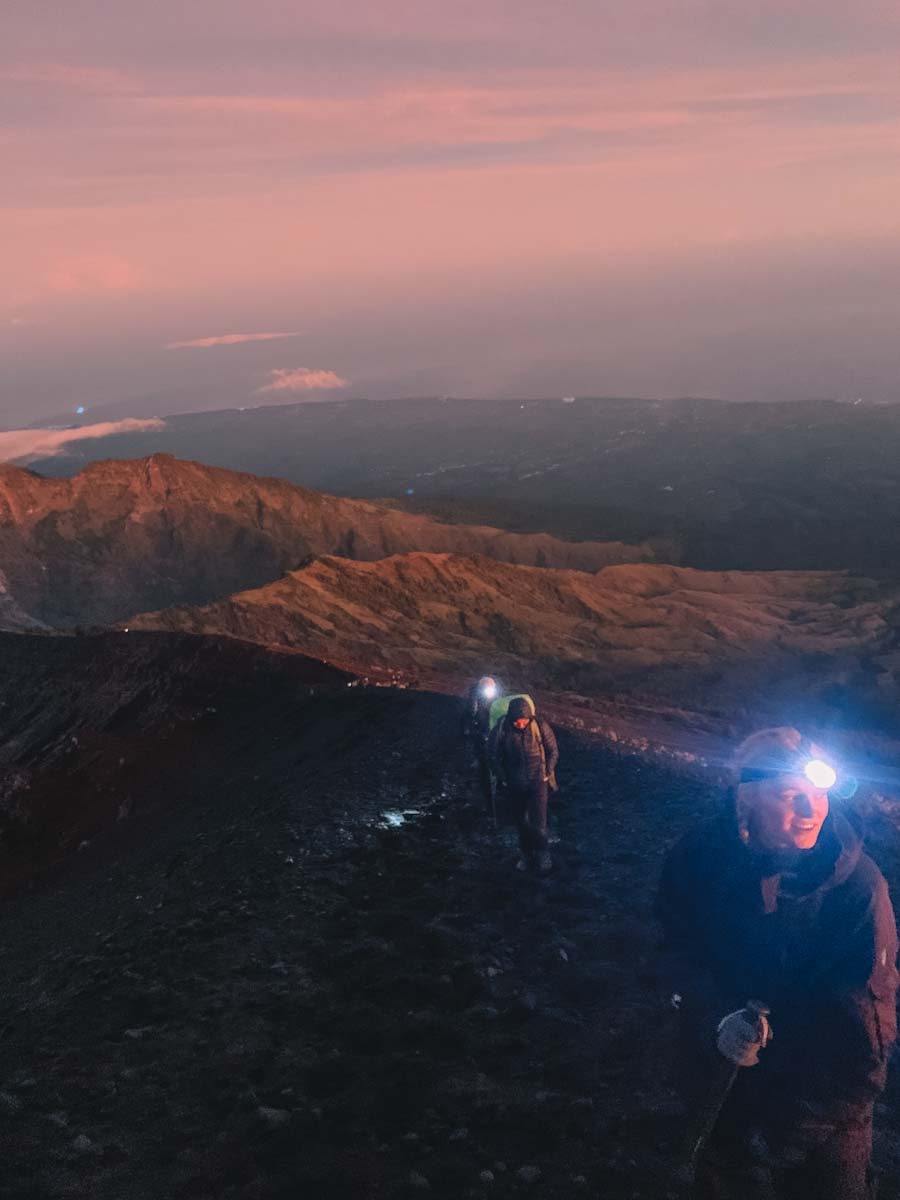
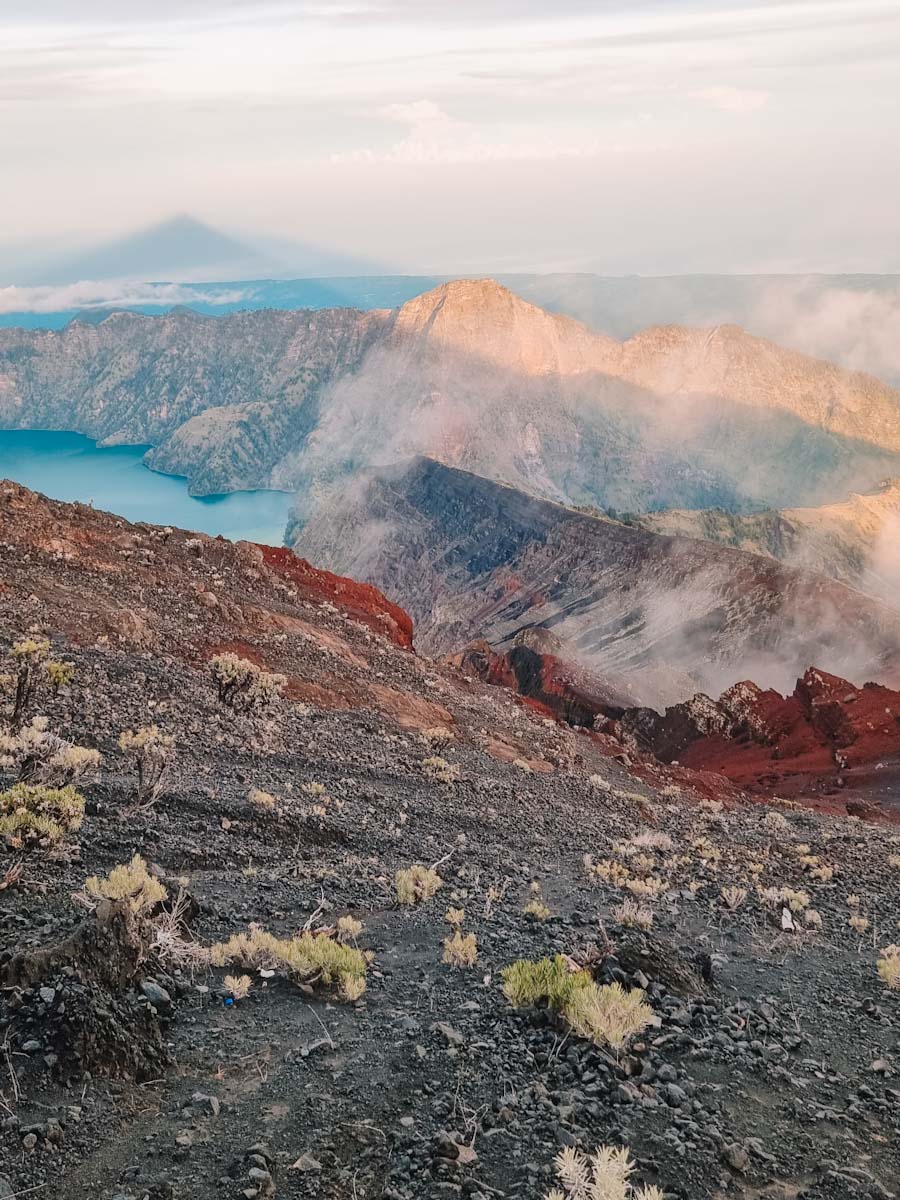
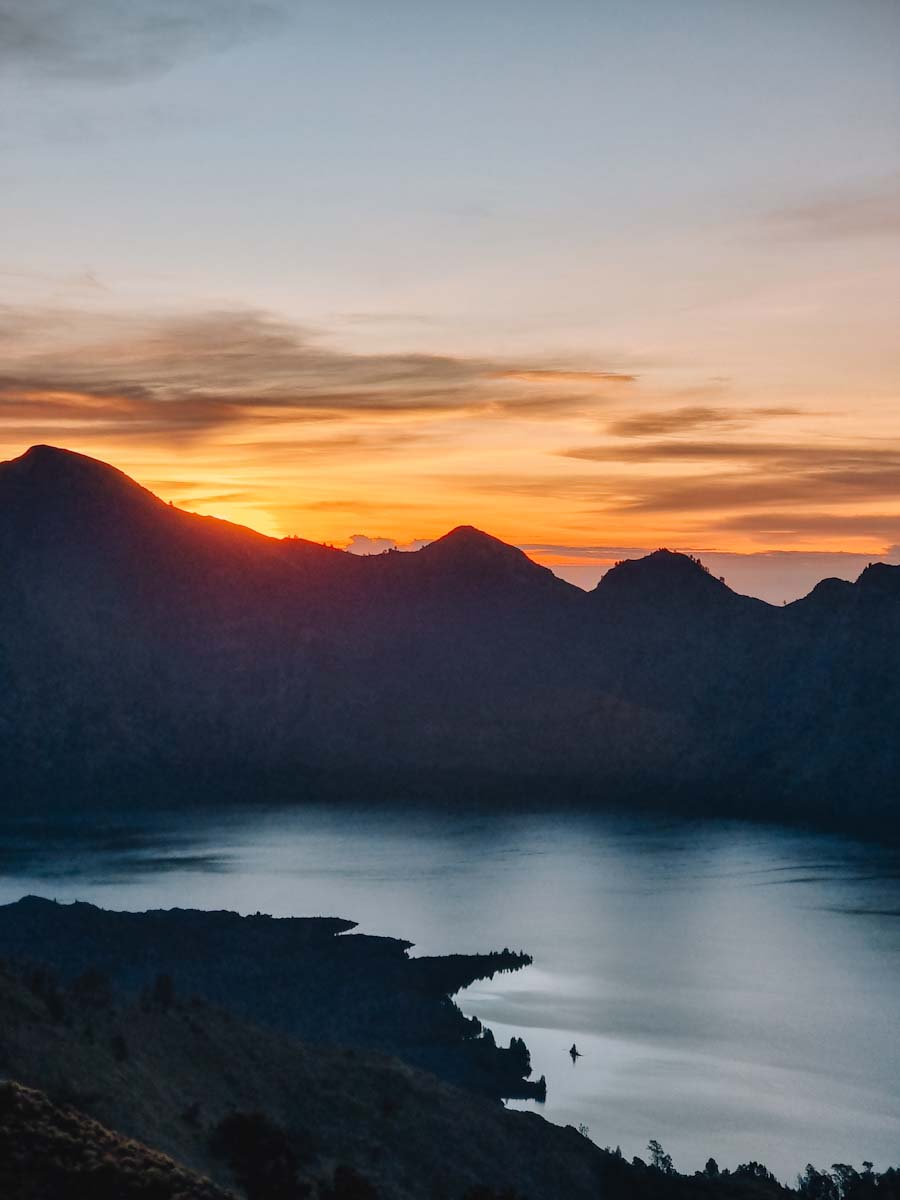
During the final climb the path extremely steep and consisted of purely volcanic ash and rocks. For every 2 steps up you fell 1 back. Finally we made it to the very top, just in time before sunrise. The sunrise was unbelievable. The peak was only tiny and you had to be careful where to stand as there were steep cliffs surrounding it. We were only up here briefly as it was freezing (literally -3 degrees) and there was a very strong wind.
On the way back to basecamp we realised how long this morning hike had been. The way down too was challenging. The loose rocks made it really easy to slide and we fell several times. In saying this, we were both wearing dead trainers and had no grip so can’t expect too much.

Morning – We made it back to basecamp around 9:30 am. We were exhausted. Luckily the porters had prepared a once again delicious meal and we could warm up and wake up with some coffee. Shortly after breakfast, we started making our way down.
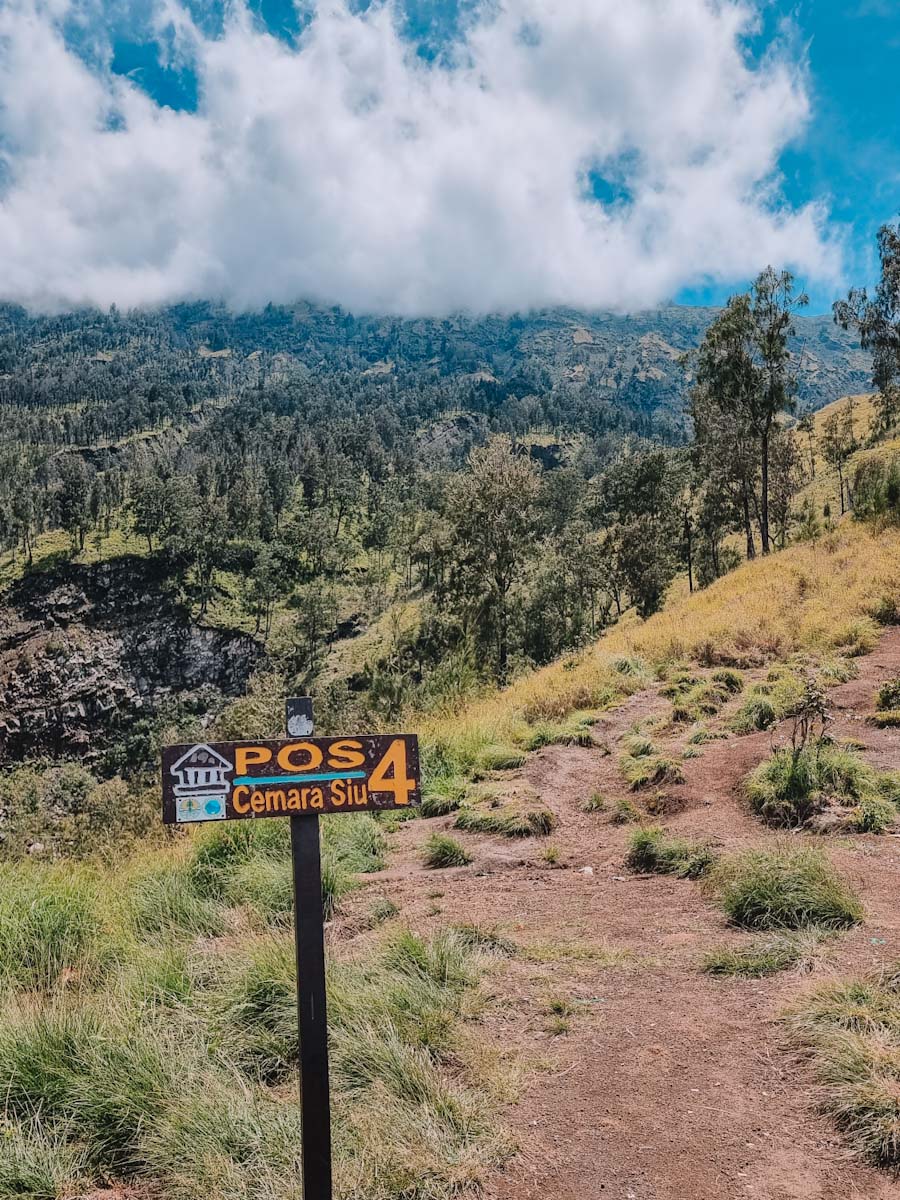
Lunch – Around noon we arrived back at post 2 where we had lunch again. The way down from basecamp was long and slippery. After lunch it started lightly raining which made the way down feel like a really long time.
Afternoon – After a long and gruelling 50,000 step day, we made it to the foot of the mountain, broken. From here we were picked up by the truck and everyone was returned to their accommodation.
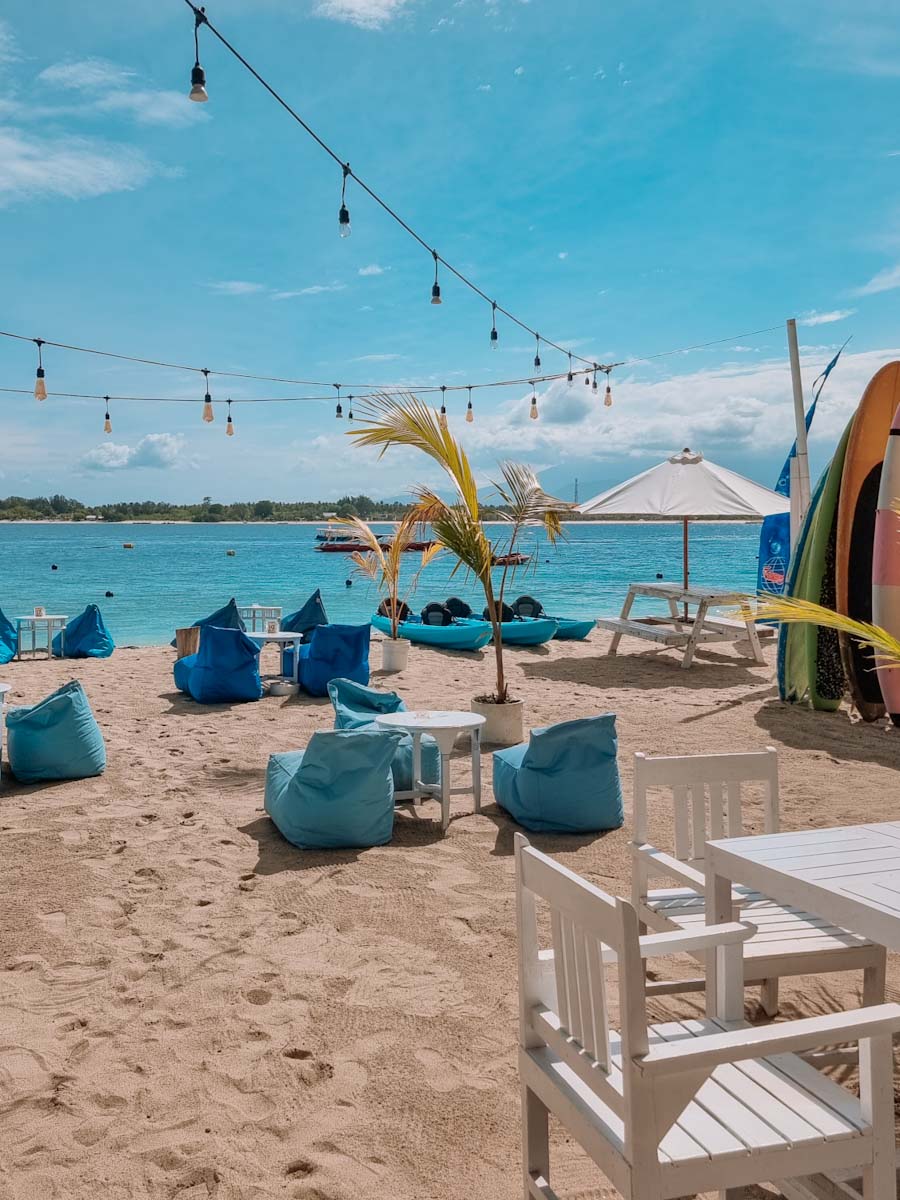
Back at the accommodation we grabbed the bags we left behind and headed for our next destination, Gili islands. Our transfer there was included in our tour so we got there stress free, ready to relax and process the hike. We’ve collated some of our favourite things to do on the Gili islands so be sure to check it out!
So, will you do it?
Honestly, we found the Mount Rinjani hike very intense and challenging, but we would definitely recommend it. It is a once in a lifetime experience. If you are generally fit and in for an adventure, do it! But to make the whole process a lot easier, be sure to follow this guide step by step!

Disclaimer: This blog contains affiliate links. When you book through our links we can earn a small commission, but the price you pay stays the same, it’s a win win! We’d really appreciate the support.

4 Comments
looks amazing
Your comment is awaiting moderation.
No matter if some one searches for his vital thing, sso he/she wants
to be available that in detail, therefore that thing is maintained over here.
my site Forum.D-DUB.Com
Your comment is awaiting moderation.
Every wdekend i used tto pay a visit this web page, as i
wish for enjoyment, since this this weeb sie conations genuinely good funny information too.
Feel free to surf to my web page :: Forum.D-Dub.Com
Keep this going please, great job!|
Looks amazing!
Nice one mate 👍